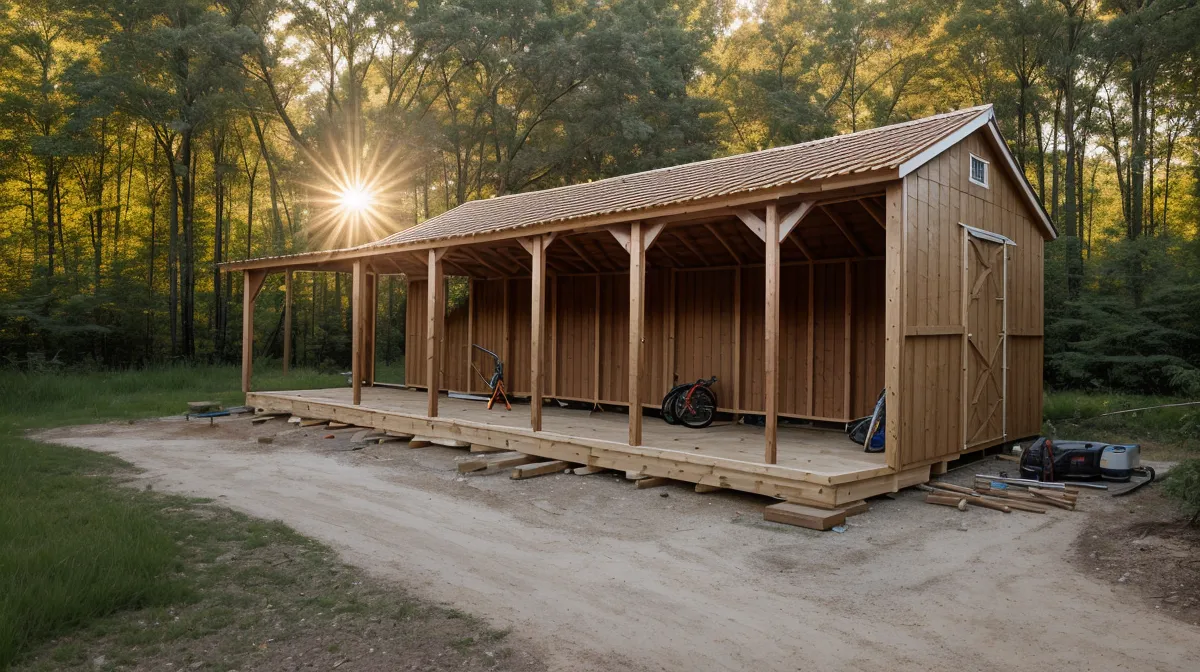
The level's bubble won't sit still. We're three concrete blocks into the footings, tapping a shim under one corner, and it drifts anyway, which is exactly the kind of thing that turns a simple DIY shed into a lopsided box for the next ten years. Backyard building punishes impatience right here, at the part nobody photographs, and no woodworking plans can shim a footing bed for you.
Quick disclosure before anything else — a few links ahead are affiliate ones, including the shed plans that got us through this whole build. We only point you toward tools we've actually paid for and used ourselves, at no extra cost to you if you click through.
How Deep Do DIY Shed Footings Really Need to Go?
Footings are the one part of a build nobody photographs and everybody regrets rushing, a little like skipping the budget spreadsheet before a road trip and hoping the gas money works itself out. Their job is simple to describe: hold the structure above grade, spread its weight evenly across however many corners and midpoints the plan calls for, and keep the ground's freeze-and-thaw cycle from shoving the whole thing sideways. Simple to describe is not the same as simple to dig in Piedmont clay.
He says: I figured a shed foundation was a weekend job, tops. Then I ran a string line across ground that looked flat to the eye and found a five-inch drop, a full FIVE INCHES, not a rounding error, from one corner to the other. Every hour I'd budgeted for framing went into the dirt instead, and I spent most of it wondering why we hadn't just ordered a plastic one from the store.
She says: Once the ground told us what it actually thought about "flat," the plan's footing layout became the whole game. Ours called for concrete blocks set on a compacted gravel bed at each corner and at intervals along the long walls, and the trick is checking them against each other with a string line and a level rather than trusting each one individually. A single footing can read perfectly level and the full set can still be wrong relative to one another, that's a faster route to a racked wall than almost anything else we've done wrong. We'd already paid tuition on that exact lesson once, back when winging it on our first house produced the disaster we wrote up in Measuring Once and Cutting Twice: Our 7 Biggest DIY Failures in Rural NC — a quarter-inch of error in a foundation compounds fast, and a wall can lean before a single sheathing panel goes up.
That single lesson is why we didn't just sketch this footing layout ourselves, we'd already bought the plan from TedsWoodworking, and the materials list told us exactly how many joists to order before we ever touched a shovel. Knowing the count up front meant the lumber yard could pull the big beams for us instead of us guessing at the register.
Stack fresh pressure-treated wood in July heat and the whole truck bed reeks of vinegar and pine sap before you've unloaded a single board, heavier than regular lumber straight off the rack, too, which nobody mentions until you're the one carrying it. That's what the base of this shed sits on, resting directly on the footings we'd just spent a full day arguing over.

Our next-door neighbor Dale leaned over the fence about an hour into digging and asked how deep we were planning to go, which from Dale always means an opinion is coming whether you want it or not. He spent a career grading county roads before he retired, so when he said our gravel bed needed to run deeper than we'd first guessed, we listened. Not long after, he backed his flatbed trailer into our driveway to haul off the extra blocks we'd over-ordered, a favor he collects on exactly once, no more, no less.
Before any of that gravel goes down, there's a question worth settling first: does this even need a permit? In most North Carolina counties, a detached accessory structure under 144 square feet doesn't require one, and ours came in under that line, but the exact threshold shifts by county and even by municipality, so a call to the local planning office before breaking ground beats finding out the hard way after the shed is already framed. Other structures on our own lot have run into a completely different number entirely, which is its own story for another day.
Framing Only Works If the Footings Already Did Their Job
Framing goes fast when the footings underneath are actually right, and slow, or twice, in our case, when they're not. The materials list from the plan meant we knew the lumber order before we ever stepped into the yard, and the total at the register still stung a little, but having an exact cut list meant the guys loading it could handle the heavy 4x4 beams instead of us wrestling them onto a cart ourselves.
He says: By the end of the first stretch of work, we had a floor. Just a floor, sturdy enough to park a tractor on, but nowhere close to a shed yet. A neighbor walked over, looked at the platform, and asked if we were building a small stage for a bluegrass band. I didn't have the energy to explain it was for the lawnmower.
She says: A 2x4 isn't actually two inches by four inches; it's 1.5 by 3.5, and forgetting that for even one second while calculating wall height means your roof sits on the frame like a hat three sizes too small. We caught our own mistake here: we'd framed the door opening for a narrower rough opening than the pre-hung door we'd already bought required, and had to pull a crowbar to studs we'd just nailed in before fixing the header and moving on.
That kind of correction is nothing compared to what we found out later on The Raised Deck Build: How We Saved Over $14,000 by Skipping the Contractor, the ledger board tying that deck to the house pulled partway loose within its first year. We'd bolted it to the rim joist the way the plan showed, but skipped the flashing that keeps water from working in behind the board, and a wet winter did the rest. Pulling the decking to re-flash and re-bolt that ledger board taught us that the connection between a structure and the house it's attached to deserves the same respect as the footings holding it up from below.
The treated-versus-untreated question came up again, in a smaller way, when we built our DIY Wood Picket Fence, which boards actually need the treatment and which ones are just going to rot at ground contact either way is its own rabbit hole entirely.
Reading a Cut List Instead of Guessing
Long before we paid for an actual plan, we tried building from free tutorials we found online, sketching our own layout off a video and cutting studs by eye. One angle was off by just enough, and we turned a full sheet of plywood into scrap before admitting defeat and going looking for something more reliable.
A cut list is the whole reason we don't waste lumber like that anymore. We went with TedsWoodworking for this shed specifically, the library runs past 16,000 plans, and the materials list is what saved us those extra trips into town, covering everything from this build to the workshop out back that's still only three-quarters sided in OSB. For the foundation piece specifically, we cross-checked against My Shed Plans, since their structural notes go deeper on sloped yards and local permit questions than the bigger library does.
The Roof Doesn't Forgive a Bad Footing Either
He says: I'm not saying I had a minor panic attack on that ladder, but I'm not saying I didn't. Setting rafters is a two-person job requiring the balance of a mountain goat, and the wind picking up halfway through didn't help. The trick is the birds-mouth cut: the notch where the rafter sits on the wall, and we followed the angle straight out of the TedsWoodworking plan rather than trust our own eyeballing after everything the footings had already taught us about guessing.
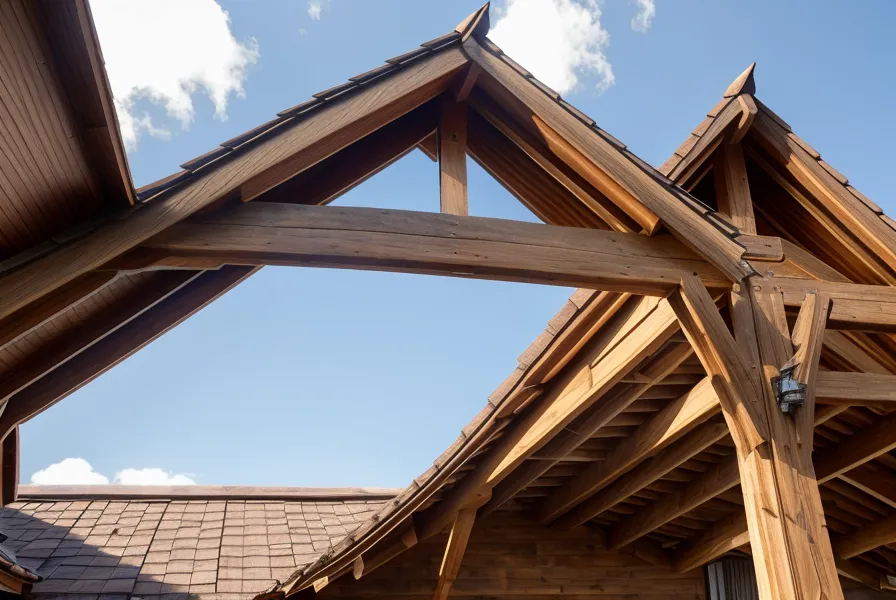
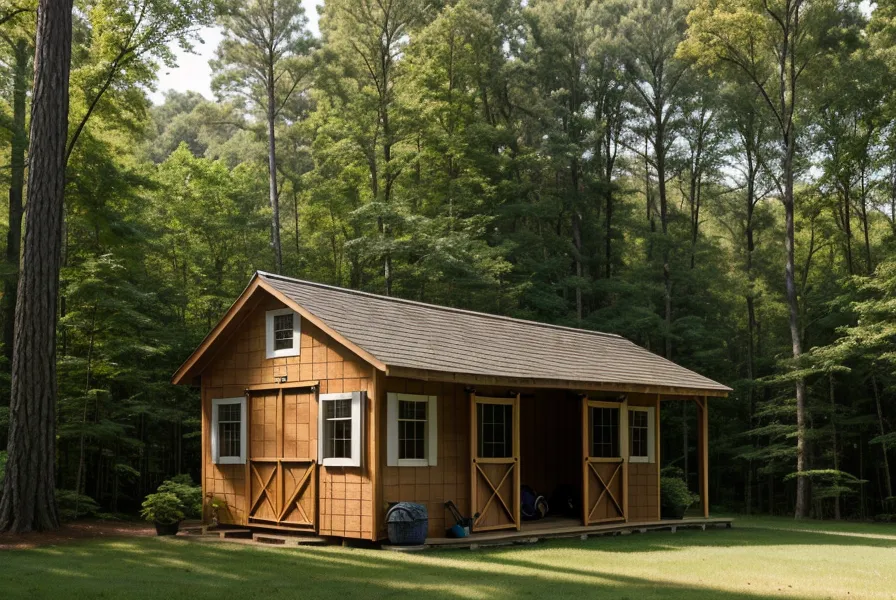
She says: While he questioned his life choices on the ladder, I was on the ground pre-cutting the siding. We went with T1-11 because it's classic and forgiving of small mistakes, and by the time the sun went down on the last day of this build, we had a real, waterproof shed that didn't move when the wind blew.
Three More Foundations, Three Different Ways to Get It Wrong
This same shed wasn't done teaching us, either. Its first winter, the ground did what Piedmont clay does when it freezes and thaws, one corner heaved just enough to rack the door frame and make it stick. The gravel bed we'd been so proud of wasn't deep enough to get the blocks below where that seasonal movement actually happens, and the fix meant jacking that corner, digging the gravel out deeper, and resetting it before the next winter had a chance to do the same thing again.
Our pergola posts taught a related lesson the following year. We dug each hole to the depth the plan listed and set the posts in concrete, but never checked the finished depths against each other, only against the number on the page. Over one season the structure developed a visible lean, because the yard's slope meant "the depth on the plan" and "level relative to its neighbor" were two different things. Ruben, a neighbor three lots down, watched the whole thing go up from his driveway and knocked on our door the following Saturday asking how we'd chosen the post spacing, we told him honestly that spacing wasn't the problem, depth consistency was, and he handed over a box of surplus carriage bolts from his own garage before he left, the same way he always seems to have more fasteners than any project could need.
The chicken coop's roof was the third version of the same mistake, just wearing a different hat. We built the roofline nearly flat because it looked simpler on paper, and after the first real rain, water sat in a shallow pool right where the run attaches instead of running off. There was no pitch built in anywhere to send it somewhere else. We ended up pulling the roofing back off and adding enough slope to actually shed water, which is a strange thing to have to relearn on the structure that's supposed to be the simplest one on the property.
Five years into building nearly everything on this half-acre ourselves, the pattern keeps repeating, get the part underground right and the part above ground moves fast. This shed itself only took three weekends, because nothing about the footings slowed down construction at the time; the heaving didn't show up until winter, months after the walls were already standing. That's the case for spending an extra weekend on foundations even when everything above ground seems to be going fine.
We've already started looking at Self Sufficient Backyard for whatever comes next, since rain barrels and a small greenhouse are next on the list, and neither one forgives a bad footing any better than a shed does.
If you're standing in your own yard staring at a pile of lumber and wondering whether you can actually pull this off, the biggest variable isn't skill, it's whether you start with an actual plan instead of winging it. We'd point you toward TedsWoodworking first for the sheer range of designs, or My Shed Plans if you want something narrower and shed-specific with the foundation guidance built right in. Either way, budget more than one weekend, we've never once finished anything on this property in the time we originally guessed.