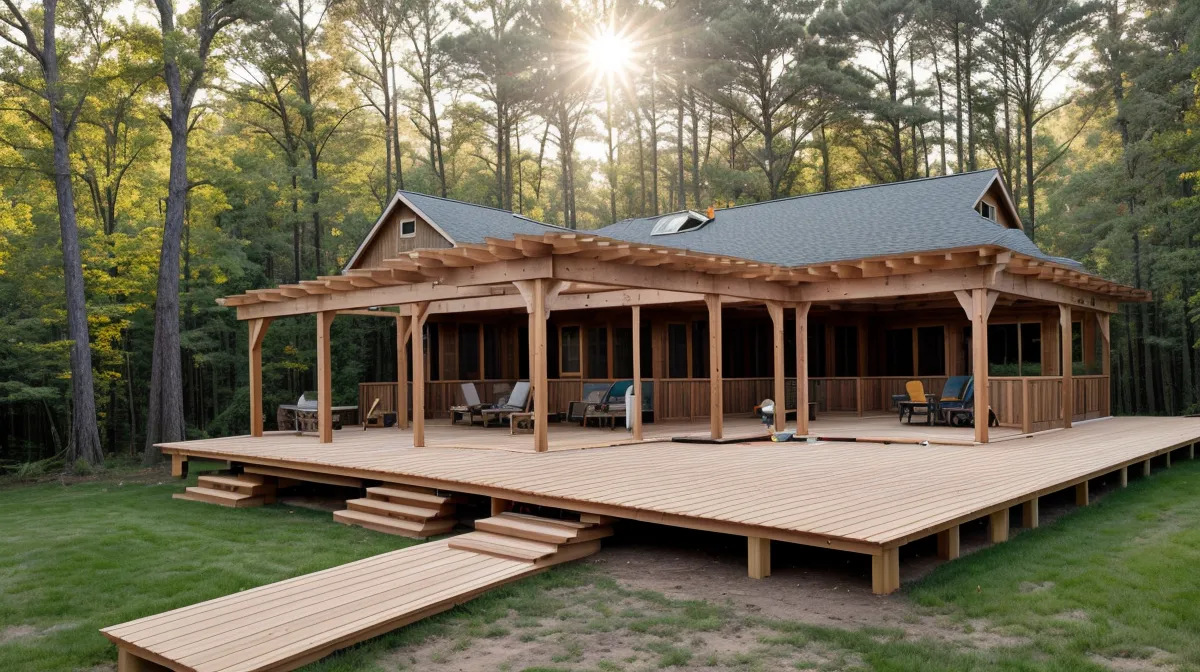
Thirty inches. That's the exact height above our patio where a backyard deck stops being a casual weekend DIY project and turns into a structure North Carolina building code actually regulates — permit application, staged inspections, guardrail framing, the whole process. We didn't know that specific number existed until we were deep into planning our own raised deck, and once we learned it, half the DIY advice floating around online started looking like a legal minefield.
Quick disclosure before we get into the myth-busting: this post contains affiliate links, and if you buy through one, we earn a small commission at no extra cost to you. We only link to plans and tools we've actually hauled through our own backyard, and we'll tell you straight where they came up short.
Here's the misconception we want to correct: plenty of people assume that building a deck yourself instead of hiring a contractor means you can quietly skip the permit process too. You cannot. The county doesn't care who's holding the drill. A contractor once handed us a quote for just over eighteen thousand dollars for a plain 16x20 raised deck, and we said no thanks — our only real construction credential at that point was a storage shed that took three weekends instead of one. But the size of a quote has nothing to do with whether the county requires sign-off later, and that surprised us more than it should have.
The Permit Myth That Almost Cost Us Our Deck
A guy named Jonas Breedlove messaged us in a county DIY Facebook group asking whether he really needed a permit for 'just a deck,' since he was doing all the labor himself — and the way he phrased the question made it obvious he'd already bought lumber sized for a completely different frame than code would actually require. The real answer surprised him: if a deck attaches to the house with a ledger board, or if the finished surface sits thirty inches or higher above grade, North Carolina requires a permit, staged inspections, and guardrail framing that meets residential code, regardless of who is swinging the hammer. Our deck cleared that threshold on both counts, ledger board and height, so there was never a version of this project where we could have skipped the paperwork.
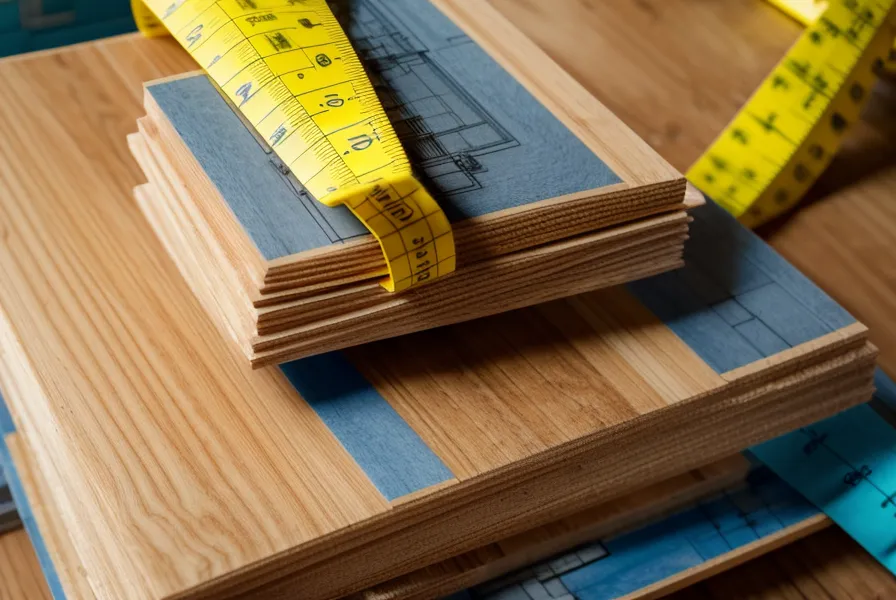
We leaned hard on engineered blueprints instead of drawing our own plans, partly because a design that already accounts for load and spacing makes the permit application a lot less painful. TedsWoodworking had a 16x20 layout that matched our footprint almost exactly, sliding door and all, and handing an inspector something already engineered saved us more back-and-forth than we expected.
Do You Really Need a Permit for a DIY Deck?
Before you assume you're in the clear, check two things: how the deck connects to the house, and how far the decking surface sits above the ground at its lowest point. She called the county Building Inspections office directly instead of guessing, which is the single most useful thing either of us did on this entire project. If you've read our TedsWoodworking Review, you already know we lean on detailed material lists — the same logic applies here. Know the exact requirement before you buy a single board of pressure-treated wood, because redesigning after the county flags something costs real money.
Footings have to sit below the frost line, and we'll leave the full explanation of frost depth and footing engineering to our shed-building post — the short version here is simply: do not guess, ask your inspector before you pour concrete. The same goes for keeping the frame plumb — an out-of-plumb beam doesn't usually show up as a bad number on a level, it shows up later as a visible hump across the decking boards you can spot from twenty feet away.
Twelve Holes and a Rented Power Auger
Twelve. That's how many post holes stood between us and a finished frame, and exactly none of them wanted to cooperate with the manual clamshell digger he insisted would be 'plenty.' Two hours in, we'd cleared maybe three holes, and his shoulders had officially stopped arguing about it. You can't out-stubborn North Carolina clay. It does NOT care how motivated you are. We drove back out the next morning, rented a gas-powered auger, and finished the rest before lunch. It reminded us of trying to turn part of our yard into something food-producing with the Self Sufficient Backyard guide — the ground here simply does not want to be moved.
Hanging the Ledger Board Wrong Ends Badly
Hanging the ledger board is the step where an attached deck officially becomes a permit-requiring structure, and it is also not a place to improvise. We followed the plan's flashing and lag-bolt spec exactly, because a mistake here means water damage at best. He stood on a ladder holding one end of a sixteen-foot beam while she drove the joist hangers, and one misfired screw ricocheted straight off a concrete footing block and skittered away somewhere under the sawhorses, gone for good. Shane, who works the counter at the county lumber yard and apparently owns fourteen antique spirit levels lined up over his workbench, likes to tell us our laser level is 'cheating' — old-school pride aside, when that beam finally slid into place and the level read true, it beat any contractor's invoice by a mile.

The Joist Spacing We Got Completely Wrong
Every build seems to have one moment where you realize you've been running on autopilot, and ours came while checking the finished joists. She grabbed the tape measure and asked, far too calmly, why they were spaced two feet apart instead of the sixteen inches the plan actually called for. Composite decking needs tighter joist spacing than standard boards to keep it from sagging, and somewhere in the rhythm of driving screws, that detail had slipped entirely. Fixing it meant unscrewing every hanger and shifting them by hand, one at a time, which is its own kind of humbling. We'd made a nearly identical autopilot mistake on our $650 DIY chicken coop build, so apparently some lessons need to be learned in more than one structure before they actually stick.
The Real Money-Saving Math Behind Our DIY Deck
Here's the actual math against that eighteen-thousand-four-hundred-dollar quote. Lumber and composite decking ran us around $3,200. Hardware and concrete — bolts, hangers, and a dozen bags of mix — landed in the mid-hundreds. Permit and inspection fees came to roughly $150, which is money you should budget for from day one — it is NOT optional. New tools, including a decent miter saw and a laser level, cost low-three-figures, and the plans themselves ran under seventy dollars. All told, we spent somewhere in the mid-four-figures and saved north of $14,000 against that original quote.
None of that math would have mattered if we'd skipped the permit to save the $150, because a stop-work order or a failed final inspection costs far more in delays than the fee itself ever could. So if you take one thing from our permit myth-busting, take this: check the attachment point and the height before you assume you're in the clear, not after you've already poured concrete. Building your own deck is absolutely doable with the right plans — we still recommend TedsWoodworking for anyone starting from zero — but doable does not mean unregulated, and pretending otherwise is the fastest way to turn a $14,000 win into a very expensive lesson.