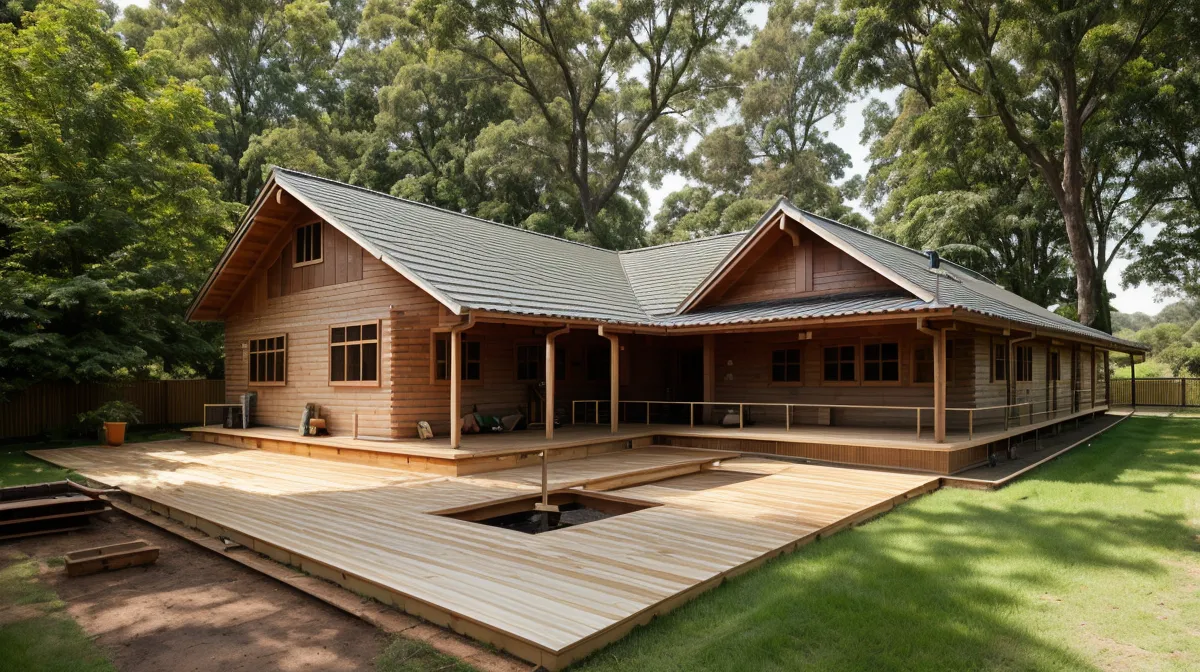
Water was already pooling against the crawlspace vents by the time I climbed down the ladder, a whole downpour sheeting straight off the roof while our tomatoes, twenty feet away, sat cracked and gasping in red clay that hadn't felt the garden hose in a week. That gap right there is the whole reason for this DIY outdoor project: a rainwater harvesting system meant to save the garden, catching free water on one side of the yard while we paid to irrigate the other. So much for self-sufficient backyard living solving problems instead of creating new ones.
Quick heads-up before we get into it: this post has affiliate links, and if you click through and buy something, we earn a small commission at no extra cost to you. We only point you toward tools and plans we've actually put to use ourselves — usually because we already burned a Saturday finding out what doesn't work first.
Our well pump had started this labored, rhythmic groan every time the sprinkler kicked on, and the electric bill for running it through a dry stretch wasn't pretty either. Meanwhile every stray afternoon thunderstorm out here in Chatham Mills, on the edge of Pittsboro, was sending thousands of gallons off our roof and straight into the driveway, gone before it ever touched a garden bed. Why were we paying the well to do a job the sky was already doing for free?
How Much Rainwater We Lost
She ran the numbers on our roof and the workshop roof combined, and honestly the total made me feel a little sick — we're talking way more water hitting the roofline in one good storm than we'd use in the garden in a whole MONTH. We weren't just losing water, either; we were losing the good stuff. Rainwater harvesting gives you water that's naturally a little soft and acidic, without the chlorine or fluoride city water carries, which matters more than you'd expect for sustainable gardening in soil this heavy with clay.
Checking whether we even could do this legally took all of an afternoon — turns out there's a certain tank size where a home rainwater setup stops being a simple weekend project and starts needing a permit, so we made sure to stay under that line rather than deal with the county. Once we knew we were clear, we picked a number that felt like an actual safety net for a dry summer: 2,000 gallons, split across a few tanks instead of one bulky one.
We Tried to Wing It First — Big Mistake
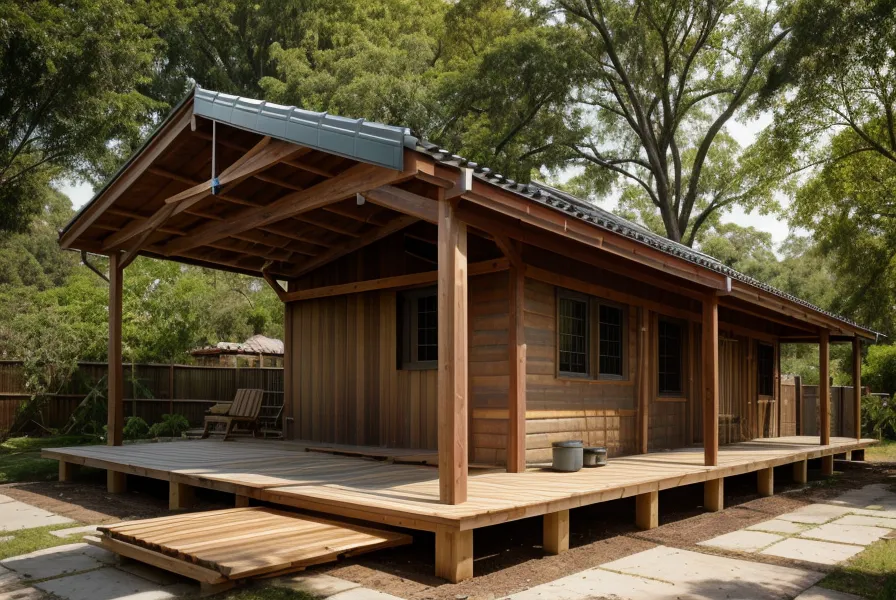
Naturally, we skipped the plans and just went for it. We picked up a few used food-grade drums and slapped together a diverter system out of parts that seemed close enough, then spent a whole afternoon setting concrete pads on ground that wasn't anywhere near flat. By the time we stepped back, the first barrel sat a good two inches higher than the intake pipe — close doesn't count when water's involved.
Instead of filling the barrels, that first big downpour turned into a private waterfall aimed straight at our foundation. She stood out there in a raincoat watching water pool toward the crawlspace while I jammed a scrap of plywood into the gutter, which did roughly nothing. That's the kind of DIY failure that comes from skipping square, level, and plumb and just eyeballing it instead — we've paid for that lesson more than once.
Ditching the Guesswork for Actual Plans
We got one contractor quote before committing to doing this ourselves, and the number came back almost triple what we'd set aside for the whole system. I remember setting that estimate on the kitchen table, looking at her, and just sliding our half-finished sketches back across instead — message received. We'd already learned on an earlier build that guessing your way through a cut list wastes more lumber than actual plans ever cost, so this time we skipped straight to following the Self Sufficient Backyard guide to wire the barrels into a real gravity-fed system, and pulled a cedar enclosure design from the 16,000-plus options inside TedsWoodworking so the tanks wouldn't sit there looking like an industrial eyesore against the house.
By the time the first frost hit, we had the main tanks set on a platform and plumbed into a rough gravity feed. The footings under that platform mattered more than either of us wanted to admit, once four hundred gallons of water was sitting on top of them. Late that first week, I'd hear this hollow, metallic drumming from the empty drums whenever a hard rain rolled through — unsettling at first, then oddly satisfying, like the house finally had somewhere to put all that water instead of just shedding it into the yard.
A Renter's Version of the Same System
Our friend who rents a place in town watched all this and asked if she could pull off something similar without touching anything permanent. Most rainwater advice assumes you own the ground under your feet, and that's just not true for plenty of people — you can't dig a trench for a big tank or cut into a building's downspout without kissing your deposit goodbye.
We helped her rig a non-destructive version instead: a slip-on diverter that friction-fits over her existing downspout, feeding a collapsible bladder tucked on the balcony that drains through a simple siphon hose. It won't carry her through a real drought, but it keeps her balcony herbs alive without touching the tap, and it reminded us that being self-sufficient isn't about acreage. It's about using whatever you've actually got.
Spring Came and the System Finally Held
Connecting the final runs of PVC was its own workout, honestly. Something in my lower back clicked, audibly, when that last union finally threaded home clean after three failed attempts, and I stood there half in pain and half thrilled in a way that only makes sense if you've wrestled a fitting yourself.
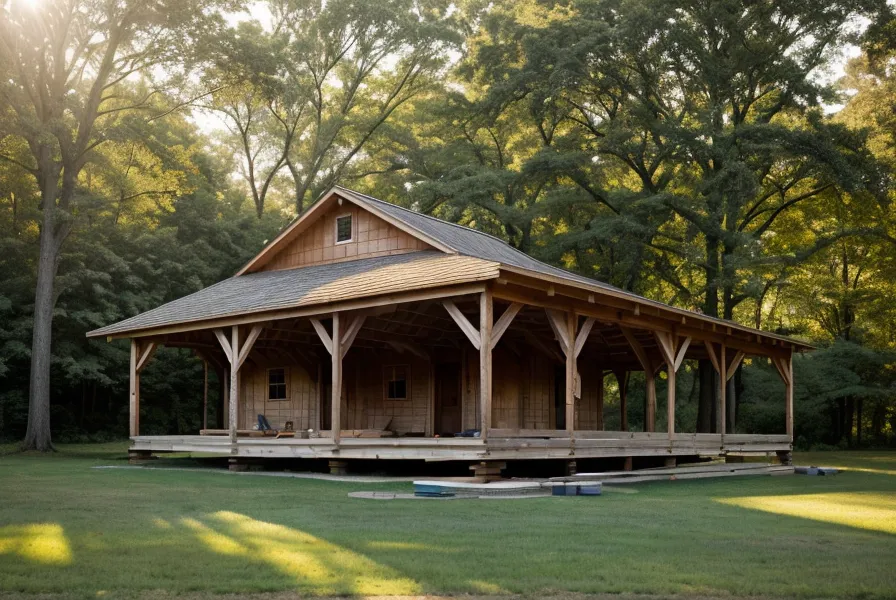
We built a tiered overflow off the rain barrel design, so the first tank spills into the second once it's full, and so on down the line. For the little pump house that keeps our solar pump dry, we grabbed a design out of the 12,000 options in My Shed Plans — the same source we'd already used for our trash can enclosure, which says a lot about how often we lean on real plans instead of improvising. We ran pressure-treated lumber for the base of that little structure, since it sits directly on dirt, but skipped it everywhere else the wood would never actually touch moisture.
That trim job still cost us one more lesson before the pump house looked right. We'd attached the cedar trim with drywall screws because that's what was sitting in the bin, and by January every one of them had rusted through, bleeding orange streaks down the wood all winter until we pulled each screw and swapped in actual exterior-rated ones.
Dale from next door showed up twice during that build, same as he does every time a saw fires up anywhere near our fence line. He leaned on the rail, offered an opinion on the platform footings, and wandered off again before we could hand him a beer.
The Glug-Glug Moment
Eight weeks after we flipped the system on, I didn't feel a flicker of guilt turning on the hose for the first time all spring. Watching the gauge climb during a slow drizzle, thinking about how much we used to basically pay to water the driveway, felt like a real shift — not a triumphant one, just quietly practical, the kind of thing you notice while standing in wet socks holding a coffee.
If your garden wilts the second the rain lets up, stop winging it the way we did that first summer. Grab a real set of plans — we still reach for TedsWoodworking for anything structural and Self Sufficient Backyard for the water and food side of things — and start catching what the sky's already giving you for free.
Our neighbor Ruben walked over the week after we finished and asked how we'd figured out tank placement, same as he's asked about nearly everything we've built out here. We told him what we'd tell anyone starting a project like this: get real plans before you touch a shovel, because every hour spent guessing costs about three hours fixing it later. Whether he actually starts before next season is anyone's guess. Ruben's projects have a way of beginning right on time and finishing two summers late. As for us, we're already eyeing the next thing, maybe that root cellar we keep talking about, or more solar power for the pump house. Whatever it is, we'll be out there with a tape measure, getting it wrong at least once, and having a beer after.