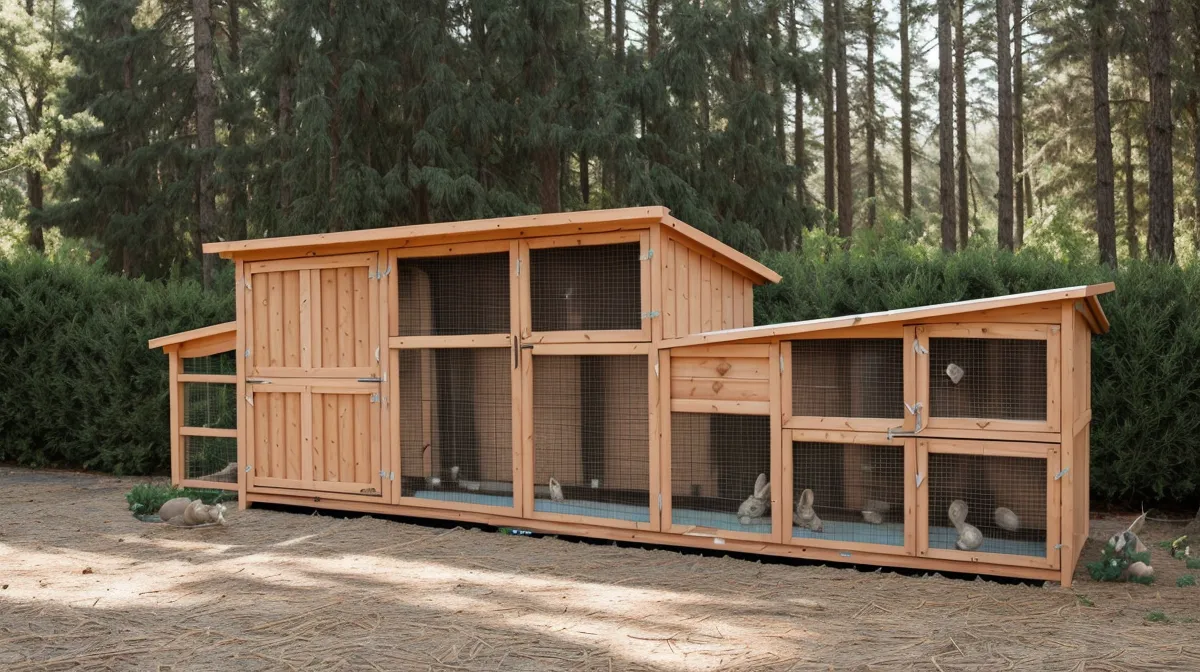
A neighbor handed us a cardboard box with two rabbits inside and said good luck, and we didn't have an answer either. Not that day, standing in our backyard in the NC Piedmont with two confused rabbits blinking up at a sky they'd never seen and absolutely no plan for where they'd sleep that night. DIY homesteading photographs well. Living it, in the first hour, mostly means standing in the grass holding a box.
Quick disclosure before we get into it: some of the links below are affiliate links, and if you click through and buy something, we earn a small commission at no extra cost to you. We only point you toward plans we've actually used ourselves, dragged through real North Carolina mud, including the ones that got us out of this exact rabbit-shaped panic. We're not contractors, just two people with a miter saw, a stubborn streak, and a habit of learning things the hard way, which you'll see plenty of below.
Why We Skipped the Kit for a Custom Rabbit Hutch Build
Pre-made kits look fine in a product photo. A search for any rabbit hutch online turns up dozens of them: stapled wire on thin pine, priced to move, promising a finished animal home in an afternoon. Jonas, a guy from our county DIY Facebook group, texted us a photo of one he'd already ordered before he'd even measured where it would sit. Light enough to lift with one hand, wire thin enough to worry about. He asked if it would hold against a raccoon. It wouldn't, not against anything determined.
Half-acre lots out here come with real predator pressure (raccoons mostly, sometimes a fox working the fence line), and a $200 kit from the big-box store just isn't built for that fight. We'd learned this once already, on a smaller job, when we skipped real blueprints for building a DIY dog house and ended up redoing half the roof. Working from actual plans instead of winging it changed how every build since has gone. We don't start a backyard project anymore without one.
How Much Room (and What Kind of Floor) Does a Rabbit Need?
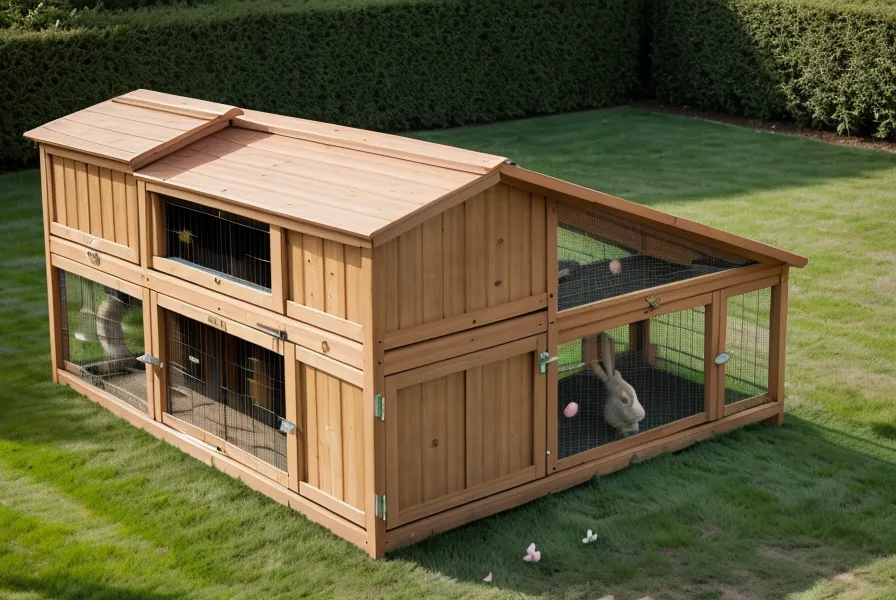
Real husbandry guidance puts rabbit floor space at around 12 square feet per animal, and that number alone rules out most of the kits we looked at. Plenty squeeze two rabbits into a footprint barely bigger than a dog crate. An all-wire floor isn't the kindness it looks like, either. Rabbits kept on wire long-term can develop sore hocks, so we split the design: solid wood where they sleep, wire where they run.
Not just any wire. We picked up rolls of half-inch hardware cloth from Tractor Supply Co. in Siler City, since anything wider gives a raccoon room to reach through and anything thinner tears open about as easily as paper. Lumber choice mattered just as much. We used pressure-treated for the frame and cedar for anything a rabbit could actually reach with its teeth, which sidesteps the pressure-treated-versus-untreated argument that comes up on every outdoor build. For animal housing, we just don't use treated wood anywhere a mouth can reach.
Picking Woodworking Plans Without Losing a Saturday
Sixteen thousand plans sounds helpful until you're the one scrolling through them at eleven at night trying to find "rabbit hutch" wedged between gazebos and porch swings. That's roughly what greeted us inside TedsWoodworking: a lot to filter through, but once we narrowed it to outdoor animal structures, the raised, dual-compartment design was exactly the kind of detail we needed. Full materials list, full cut list, real measurements instead of a rough sketch.
Shane, who works the lumber counter at the county yard, texted us the week cedar went on clearance, which made buying the right boards a lot less painful than usual. Getting the cut list right also meant remembering that a "2x4" isn't actually two inches by four inches once it's milled. A mix-up that's cost us lumber before. The framing itself follows the same logic as basic stud-wall framing, just scaled down to something rabbits can live in. We'd used an equally detailed guide once already for building our DIY chicken tractor, and My Shed Plans is worth a look too if storage is what you're actually after. Their library leans harder into sheds and workshops than animal housing.
What Happens When Your Yard Isn't Flat?
Ours isn't, not dramatically, but enough that a "flat" building site still slopes just enough to matter once you're setting posts. We dug the holes by hand, and after a night of rain the clay underfoot turned into cold, heavy mud that clamped around the post digger and refused to let go until we levered it back out. Whether you need real footings under posts like that depends on frost depth and how much weight the structure carries. A hutch this size doesn't demand much, but it's still the first thing we check before anything goes into the ground.
Our deck build already taught us this lesson, the hard way. We eyeballed the frame instead of checking it against the plans, and a twelve-foot span ended up three inches out of square by the time we stood the whole thing up. Not a small error, and not one you fix after the screws are already in. Square, level, and plumb aren't interchangeable the way people assume, though that's a bigger subject than a rabbit hutch really needs. For the hutch, we used real levels this time: the kind Shane keeps fourteen of, lined up on a shelf above his workbench, because he collects the old cast-iron ones.
How the Plan Libraries Actually Compare
Here's how the three actually stacked up once we'd used them on real projects instead of just browsing the previews:
| Resource | Best For | Our Take |
|---|---|---|
| TedsWoodworking | Variety & Detail | The 16,000+ plans are a bit much at first, but the cut lists save you from making 5 trips to the hardware store. |
| My Shed Plans | Storage & Workshops | Great if you're building a dedicated structure; their 12,000 designs include permit guidance which is huge. |
| Self Sufficient Backyard | Homestead Systems | Less about blueprints, more about how the hutch fits into a garden and compost ecosystem. |
My Shed Plans' permit guidance is genuinely useful, though a rabbit hutch this size never comes close to the kind of permit threshold that shows up fast once you're talking decks or workshops.
Was Building From Scratch Worth It?
The rabbits moved in on a quiet evening, and neither one bolted when we opened the hutch door. Small victory, but we'll take it. The whole structure sits solid. No wobble when the wind kicks up, no seam loose enough for a determined animal to work open. Building it ourselves took longer than any kit would have, the same way cooking dinner from scratch takes longer than a drive-through. But you know exactly what went into it, and you're not surprised later by what it can't handle.
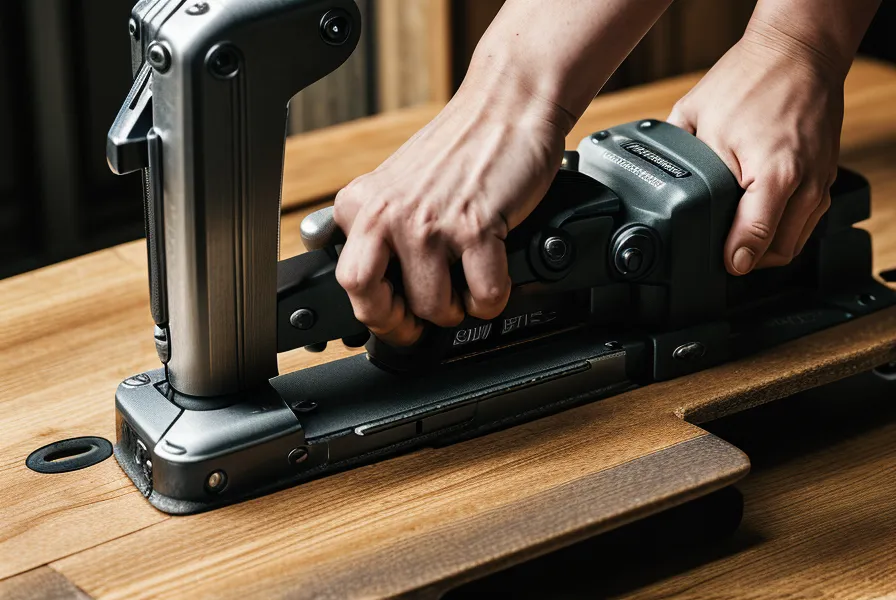
You don't need a garage full of specialty gear to pull this off. The same short list of power tools that gets us through most backyard projects covered the whole hutch, nothing exotic required. If you're staring at a cardboard box of animals with nowhere to put them, skip the flimsy kit. Real plans cost more upfront and eat into more of your Saturday, and TedsWoodworking is where we'd point you first if you want the library we used. That's enough to build something that's still standing solid instead of something you'll be replacing by next spring.