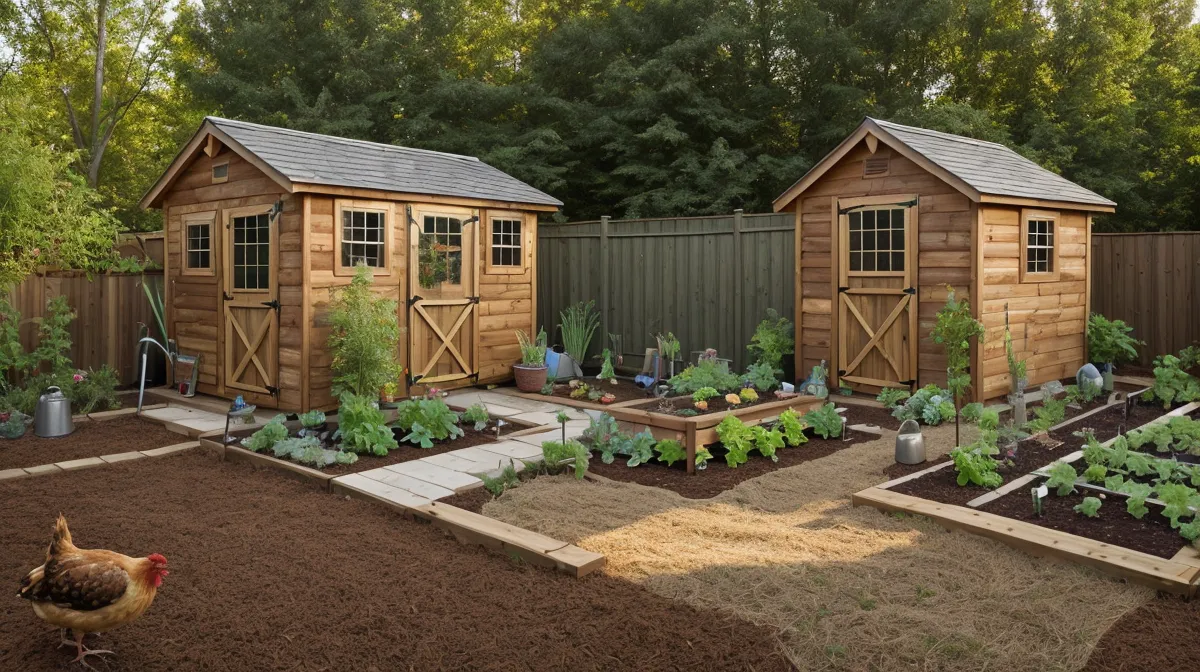
Eighteen thousand five hundred dollars. That's what a contractor quoted us for one storage shed and a small deck on our half-acre in rural North Carolina (no chickens, no garden fence, no pergola included). We wanted a working backyard homestead on a real budget, not just a place to park a lawnmower, and that number made the decision for us.
Quick disclosure before we get into it — a few links below are affiliate links for the plan guides we bought and used ourselves. We don't earn a cent more if you buy through them instead of going straight to the source, and we don't recommend anything we didn't actually put to use on our own build.
The Eighteen-Thousand-Dollar Bid vs. Our Actual Backyard Budget
She: "Eighteen thousand five hundred dollars is a used truck, or a year of groceries, or both at once. We didn't buy a fixer-upper on a half-acre to hand the yard over to someone else the first time we wanted a shed. That quote didn't feel like a starting point. It felt like the house telling us to give up before we'd planted a single seed."
He: "I'm not a builder — I own a drill and a search bar. But I ran the numbers, and even if I failed at the shed twice and bought half the tools in the store twice over, we'd still land under that bid. So we said no thanks and drove to the hardware store instead, which remains the most terrifying good decision we've made since we moved out to the rural side of North Carolina."
Guessing at the Table Saw vs. Working From an Actual Plan
We already covered the deeper story in Why We Stopped Winging It: The Woodworking Plans That Changed Our Backyard Forever — the short version is that a real plan beats a tape measure and good intentions every time. Getting a frame actually square, level, and plumb before a single screw goes in turned out to matter more than any power tool we owned.
She: "Before the shed existed, every tool we owned lived in a plastic tub in the kitchen. Ask me sometime how hard it is to get sawdust out of a bread machine. I won't answer, but the texture never fully leaves."
He: "Once we switched to working from an actual shed plan, the guesswork mostly disappeared. Using something like My Shed Plans got us foundation and permit guidance we didn't know we needed. Footings, it turns out, are the one part of a build you really don't want to eyeball, and our county has its own square-footage threshold before a permit even enters the conversation. The plans weren't flawless, with that many designs in the library, quality bounces around, and you still have to read carefully before you cut anything, but it beat staring at a pile of lumber and hoping."
What the Cheapest Lumber on the Lot Really Costs You
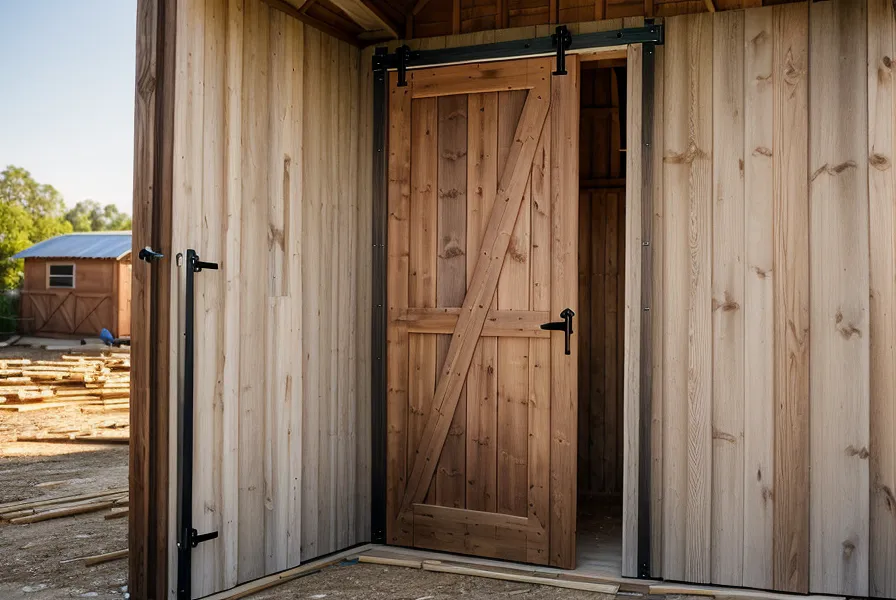
Cheap lumber taught us the harder lesson. For the first fence run, we grabbed the least expensive pressure-treated four-by-fours the big box store had on the shelf, and every single one of them bowed into something closer to a banana than a post within one season. We don't get into the full pressure-treated-versus-untreated decision here — that's its own conversation for another day — but for anything sitting in direct ground contact, we now check for a UC4A treatment rating, which means at least 0.40 pounds of preservative per cubic foot. Skip that check in a humid Piedmont summer and the wood loses the fight against rot and insects long before the framing around it does.
Chickens, a Fence Line, and North Carolina Red Clay
She: "The coop and the garden had to actually work together, not just sit near each other. We leaned on Self Sufficient Backyard for how to line up the run with the raised beds so neither one crowded the other. Patrice, a friend from the neighborhood Facebook group, kept showing up with cuttings and seedlings every time she heard we were building something new, which felt like a fair trade for an extra set of hands on a Saturday. The best proof the layout worked came on the very first night — the chickens walked straight into the coop on their own, no chasing, no drama, like they'd been doing it for years."
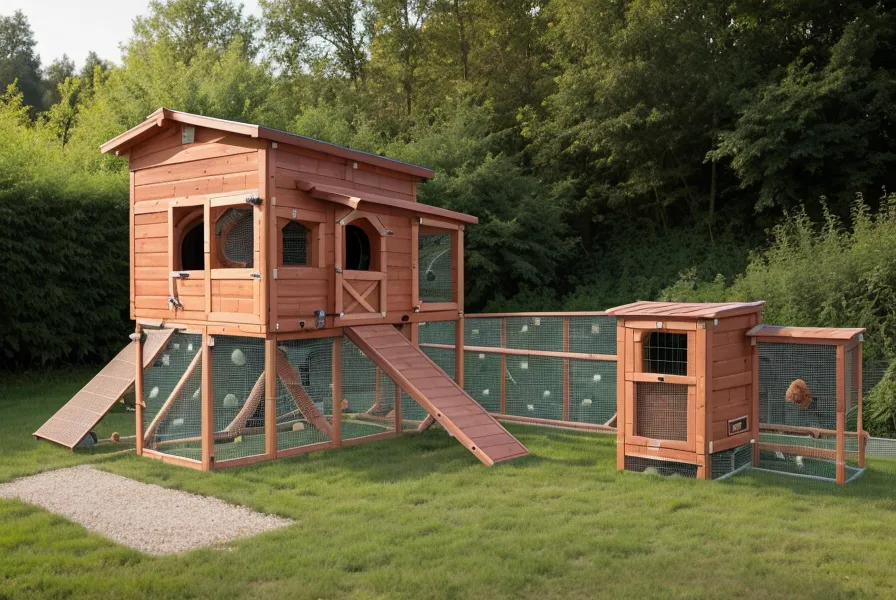
He: "Digging post holes in North Carolina red clay is its own kind of punishment, closer to drilling through brick than turning soil. We went through more than one post-hole digger before we gave in and rented a power auger, and the fencing moved a lot faster once we'd also picked up the gear from 10 Essential Power Tools for DIY Couples Who Hate Wasting Money. A reader named Wanda wrote in after the coop post asking whether an A-frame design would hold up in an ice storm, and she still sends us photos of her own coop every spring without anyone asking her to. We still haven't made it out to Jordan Lake State Recreation Area this year. There's always one more post hole standing between us and a Saturday off."
One Massive Plan Library or One Shed Specialist?
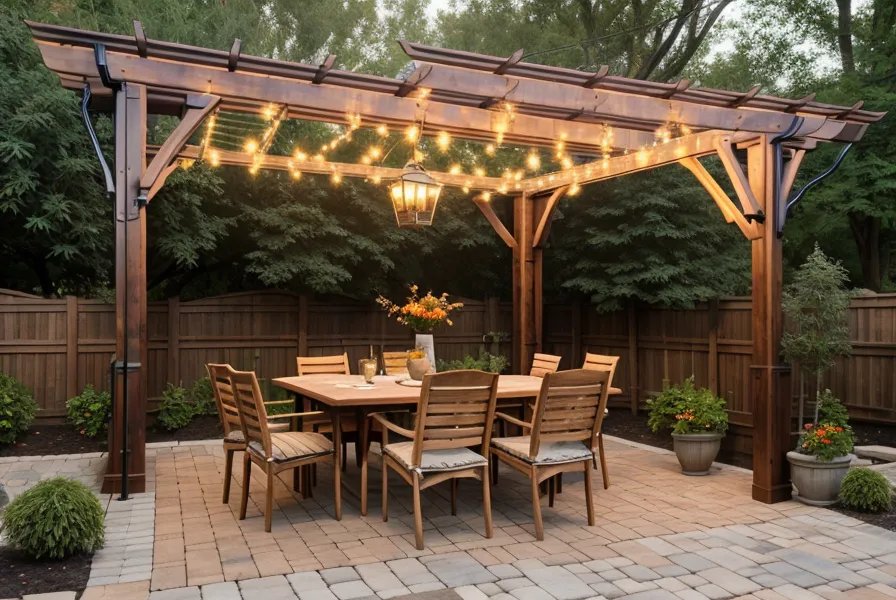
The pergola forced an actual choice between two different kinds of plans. We wanted a pergola to sit under after all that digging, but neither of us wanted to repeat what we went through building it — the full story, gravity lessons included, is in Our First DIY Pergola Build: Surviving the 'Leaning Tower of Lumber' and Finishing It Right.
Choosing between a shed specialist and a massive general plan library felt a little like choosing between one recipe card taped inside the cabinet and an entire cookbook covering every meal you might ever make. TedsWoodworking is the cookbook — over 16,000 plans covering pergolas, decks, gazebos, and everything else on our list, with cut lists and materials lists detailed enough to save real trips to the lumber yard. The tradeoff is exactly what you'd expect from that much volume: it takes a while to find the specific plan you actually need, and a handful of the outdoor designs assume you're already starting from a level foundation, which we were not.
So: Hire a Contractor or Build It Yourself?
Run the two paths side by side and the numbers aren't close. The contractor bid for a shed and a basic deck alone came to that same eighteen thousand five hundred dollars. Building the shed, the coop, the pergola, and the fencing ourselves landed around thirty-two hundred dollars total, which means roughly fifteen thousand dollars stayed in our account instead of someone else's. That difference covered the chickens, the fruit trees, the soil for the raised beds, and enough pizza to get through the nights we were too tired to cook. If you're weighing the plan-library route for a project this size, something like TedsWoodworking is built for exactly that range, from a small coop to a full deck.
So which way should you actually go? Hire the contractor when the structure needs engineering beyond a basic frame, when your weekends are already spoken for, or when the permit and inspection process in your county is more than you want to manage solo. Build it yourself when you've got more weekends than dollars, when you're willing to be genuinely bad at something for a while before you're competent at it, and when a finished pergola with your own fingerprints on every board actually matters to you. We used that same approach last month on something small — a real firewood rack for the yard — because by then, working from a real plan had just become how we build things. If you're standing at that same fork between a bid and a lumber pile, our honest advice is to start small, grab a solid set of woodworking plans, and let the first little project tell you which side of that comparison you actually belong on.