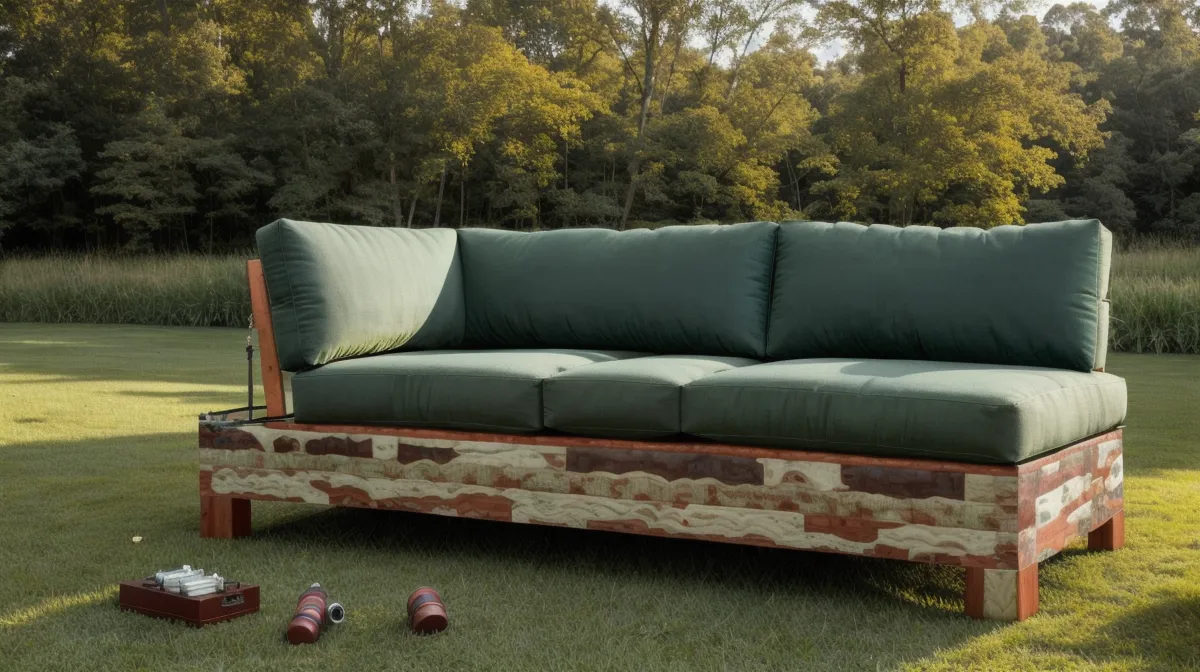
The circular saw is still ticking as it cools when we notice it - two armrests, cut at the exact same angle, both facing the same direction. Somewhere between measuring and mirroring the piece, one of us miscounted, and now we've got a sectional sofa that only wants to turn left. Nobody warns you about this part of building your own DIY outdoor furniture: the plans get you almost all the way there, and the last stretch is entirely your own fault.
We've wanted real seating out here for a while now - the kind of outdoor living setup where you can stretch out with a drink instead of perching on a folding chair - and a store-bought sectional sized for our deck runs close to $2,000, which isn't happening on a rural fixer-upper budget. So building one became our newest backyard project, and if you've read about other builds around this half-acre, you already know we don't do these things small.
Picking Woodworking Plans That Fit a Real Deck, Not a Showroom
Pinterest board furniture is designed by someone with a workshop we'll never have, so we went looking for actual woodworking plans instead of a mood board. TedsWoodworking had the deepest library for this - north of 16,000 plans covering everything from pergolas to the L-shaped sectional we eventually built - and digging through it felt a bit like flipping through a massive recipe box looking for the one card that actually matches what's in your fridge. Building from an actual set of plans instead of winging it off a photo is the difference between a sofa that holds a right angle and one that doesn't, though that's really its own topic.
We also looked at My Shed Plans, which has roughly 12,000 designs, but almost all of them are sheds and outbuildings - great for the workshop we'll get around to eventually, useless for furniture. Ted's plans had cut lists broken down piece by piece, which is what actually mattered once we got to the lumber.
The Lumber, the Screws, and the Trip to Tractor Supply
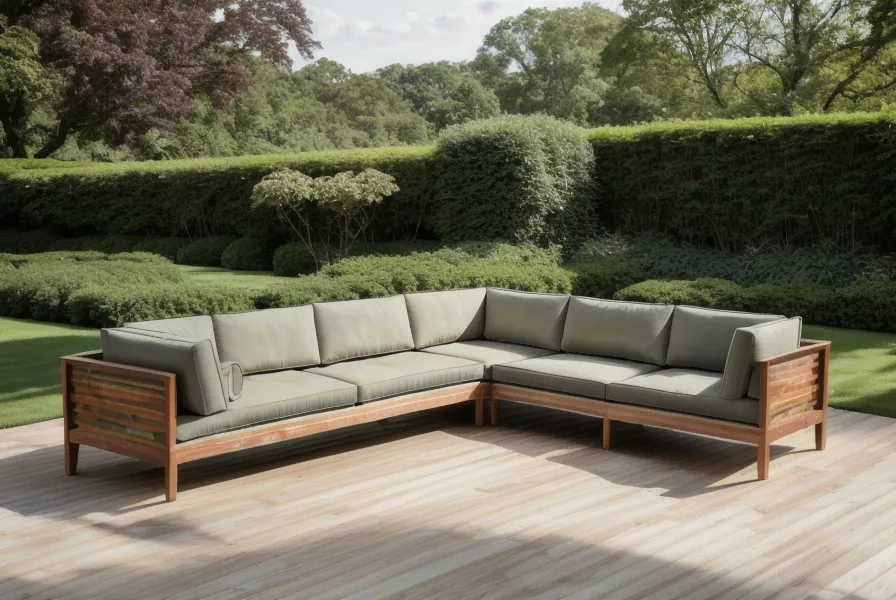
This load came from Tractor Supply Co. in Siler City, where we sorted through the pressure-treated stock board by board instead of grabbing the first stack by the door. Why there instead of anywhere else? Habit, mostly - it's a short drive and the treated stock tends to sit flat instead of warped on the rack. We learned that lesson the hard way on an earlier project, when the cheapest treated 4x4s we could find warped into bananas within a single season and no amount of clamping fixed them after the fact. A stamped 2x4 is never actually 2 inches by 4 inches, by the way - it's closer to 1.5 by 3.5 once it's milled - and if your cut list doesn't account for that, your joints won't line up. We used ACQ-rated screws throughout, which just means screws coated to resist the copper compounds in treated lumber; regular screws corrode fast enough that you'll see rust streaks within a couple of months.
Overbuilding is basically our whole approach at this point. We've got raised garden beds from a couple seasons back that were still handing over kale in November, long past when they were supposed to quit, because we used that same build-it-heavier instinct on those, too. Our friend Patrice, who talked us into the neighborhood homesteaders' group after spotting a photo of our pergola, shows up with cuttings and seedlings whenever she wants an extra set of hands on a build - half the yard exists because of that trade.
Deck Level Problems: The Slope You Didn't Know You Had
Ours slopes just enough for drainage that nobody mentions it until your perfectly square frame rocks like a dog with one short leg. Getting a frame truly square, level, and plumb before you drive permanent screws is its own skill set, and we won't pretend to have mastered it in one build - but the short version is this: dry-fit the whole frame first, set a level across every seat rail, and only trim or shim once you actually know which corner is low. We ended up trimming an eighth of an inch here and shimming there, checking the level after every single adjustment instead of guessing and hoping it would settle.
Cutting the Frame Without Repeating Our Mirrored-Armrest Mistake
That mirrored-armrest mess from the start of this cost us a full evening - twelve joints unscrewed, one whole panel rebuilt from scratch. The fix going forward is boring but it works: label every piece the second it's cut, marker straight on the wood, before it goes anywhere near the pile. Left arm, right arm, front rail, back rail - whatever your plan calls it, LABEL IT, because two identical-looking sections under a work light at night look exactly the same until they very much are not. We had enough leftover cutoffs afterward to start a planter box on the side, which is about the closest thing to a silver lining that a pile of scrap offers.
Getting Seat Height and Cushion Depth Right
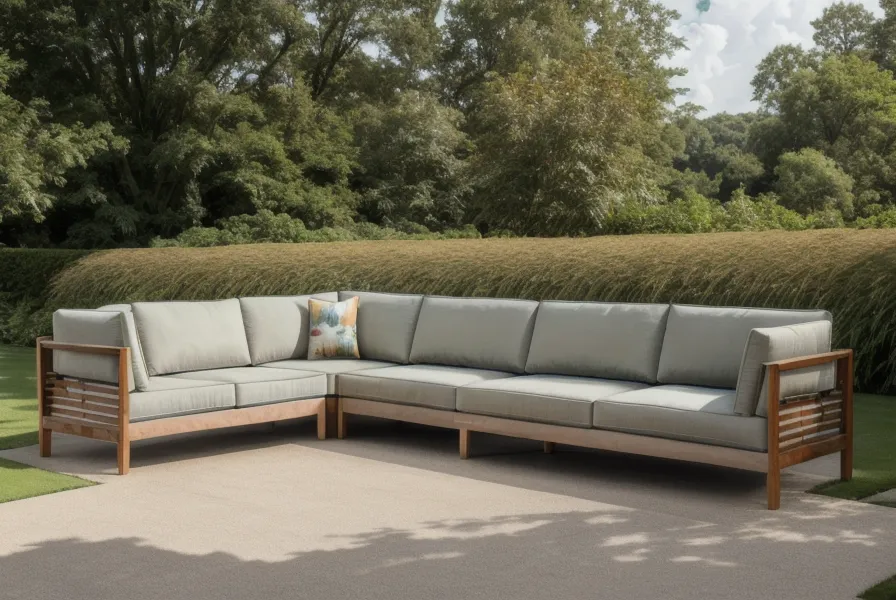
Eighteen inches at the top of the cushion is the number we built toward, which lands close to a normal chair height once foam compresses under weight - go much lower and you get a low-slung lounge feel that's harder to climb out of after a second glass of tea. We wanted the deep kind of seat where you sink in and don't want to leave, not the shallow waiting-room perch you get from most big-box patio furniture, so the seat frame itself runs deeper than a typical dining-height build. Working with something lighter, like a balcony or a rental where weight and permanence actually matter? Cedar is worth pricing out instead of the pressure-treated pine we used - it's lighter and skips the chemical treatment, though we haven't built with it ourselves, so take that as a starting point rather than gospel.
What We'd Do Differently On the Next Build
Outdoor wood swells and shrinks with humidity in a way indoor furniture never has to deal with, so we left small gaps between the seat-base boards instead of butting them tight - a detail that deserves its own explanation somewhere else, but skipping it is how boards start cupping within a year. Tool-wise, we didn't need anything exotic: a circular saw, a drill, a square, and a level covered nearly the whole build. We had enough scrap left over afterward to start sketching deck stairs for the far end of the platform, because apparently one finished project just points you at the next unfinished one.
Whether Building Our Own Sectional Was Worth It
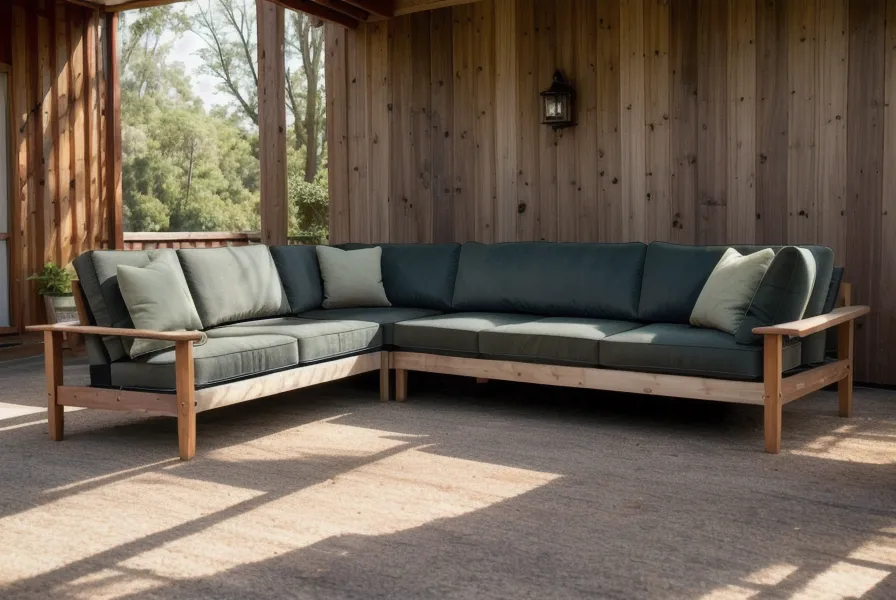
The honest math is that this ran us around $400 in materials against something close to $2,000 for anything comparable in a store, but the money was never really the point. It's more that every time we sit out here, we know exactly which screw is holding which joint together, including the two we had to redo. If your own deck is sitting empty and you're tired of folding chairs that snap under a sneeze, TedsWoodworking is the plan library we keep going back to for builds like this one - having an actual cut list is what turns "how hard can it be" into a sofa you can actually sit on.