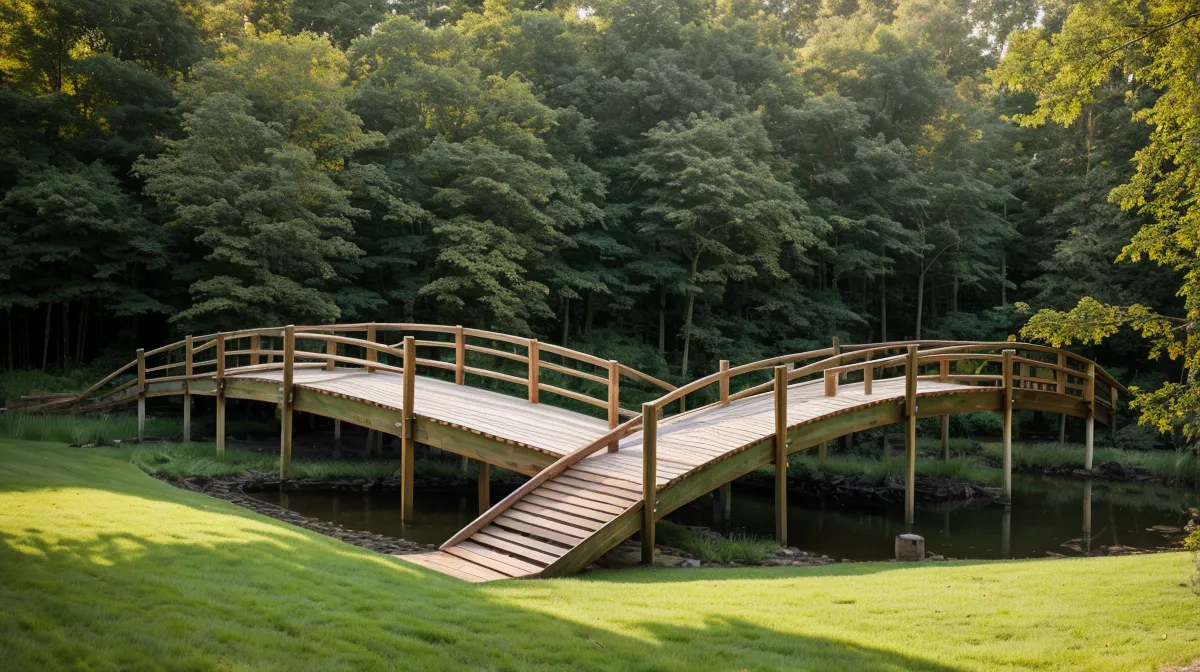
Every post along our back fence line stands dead plumb these days. Nothing leaning, nothing that needs a prop before company comes over. The ditch splitting our yard in half never got that kind of attention. It's dry most of the month, but on the wet days, getting from the house to the workshop meant either a running jump over red clay muck or a boot that came back a different color than it left. We'd talked about putting some kind of garden structure over it for longer than we'd like to admit, filing it under someday-project instead of treating it like a real backyard DIY build. Turns out a small footbridge is one of those landscaping solutions that sounds simple right up until you're standing in the mud arguing about arch height, and outdoor woodworking over unstable ground behaves nothing like building on solid dirt.
Word got around the county DIY Facebook group pretty fast once we posted photos, and the questions started stacking up: arched or flat, how do you deal with a lopsided bank, does cedar actually survive sitting over water. So here's what we told everyone who asked, including the parts where our first instinct was wrong.
Arched or Flat: Picking a Shape That Sheds Water
We spent a few nights at the kitchen table with graph paper, going back and forth between a flat platform and a gentle arch. One of us wanted the romantic curved-bridge look; the other was thinking about how much easier a jigsaw handles a straight line than a curve. Working off real plans instead of just winging it settled the argument fast. A slight arch sheds water off the walking surface better than a flat span, which matters plenty in a climate where damp wood grows moss if you glance at it sideways. Same logic as pitching a shed roof so water doesn't pool, just scaled down to eight feet of footbridge. We landed on an eight-foot span, enough to clear the ditch banks with room to spare on both sides.
How Much Wood and What Kind Does a Backyard DIY Project Like This Take?
Before we ever pulled into the lumber yard, we ran the math on our lumber. The actual dimensions of a 2x6 board aren't two inches by six inches, and building around the number printed on the tag instead of the real measurements will throw your whole layout off by the time you're done. We learned that lesson the expensive way back when we were building deck stairs after finishing our backyard platform, so this time the graph paper accounted for every missing sixteenth of an inch before the truck left the driveway.
For anything touching the clay, we stuck to lumber rated for ground contact rather than the cheaper above-ground stuff; Shane, who mans the counter at the county lumber yard, has texted us more than once when a straight-grained batch comes in, and he steered us toward boards that wouldn't twist the second they hit humidity. Standard screws don't hold up long against treated lumber's chemistry, or so we were warned, so we switched to hot-dipped fasteners before a single board went in the ground. We picked up the lumber and let it sit in the workshop for a week before touching it, which is mostly just a polite way of saying we weren't ready yet.
What Do You Do When the Two Banks Don't Match?
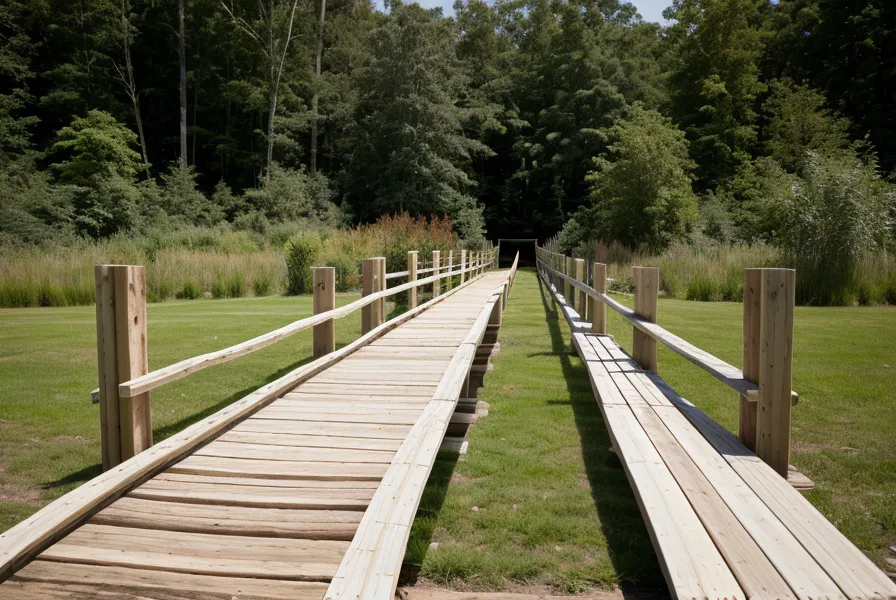
The first weekend of actual work handed us a problem the graph paper never mentioned: the north bank sat a good four inches higher than the south one. So much for the perfectly level, symmetrical bridge we'd sketched. We hadn't planned for a four-inch difference between two banks of the same three-foot ditch. We stood there staring at the level, then at each other, for longer than either of us wants to admit.
Pouring traditional footings was the obvious fix, except digging deep, level holes in Piedmont clay is its own special misery, and clay that expands and contracts with the seasons has a way of cracking rigid concrete anyway. We skipped footings entirely and floated the bridge on pressure-treated skids instead, letting the whole structure shift slightly with the ground rather than fighting it. To close the four-inch gap, we cut a shallow, level trench into the high bank and stacked a doubled-up skid on the low side instead of trying to dig the high side down to match. It's a little like budgeting around one unexpected expense instead of tearing up the whole plan: you adjust the piece you can control and leave the rest alone. If your own banks are off by more than an inch or two, that's the move: shim the low side, don't excavate the high one down to meet it. It wasn't what the sketch showed, but it hasn't shifted in two winters.
The Permit Question Nobody Thinks to Ask
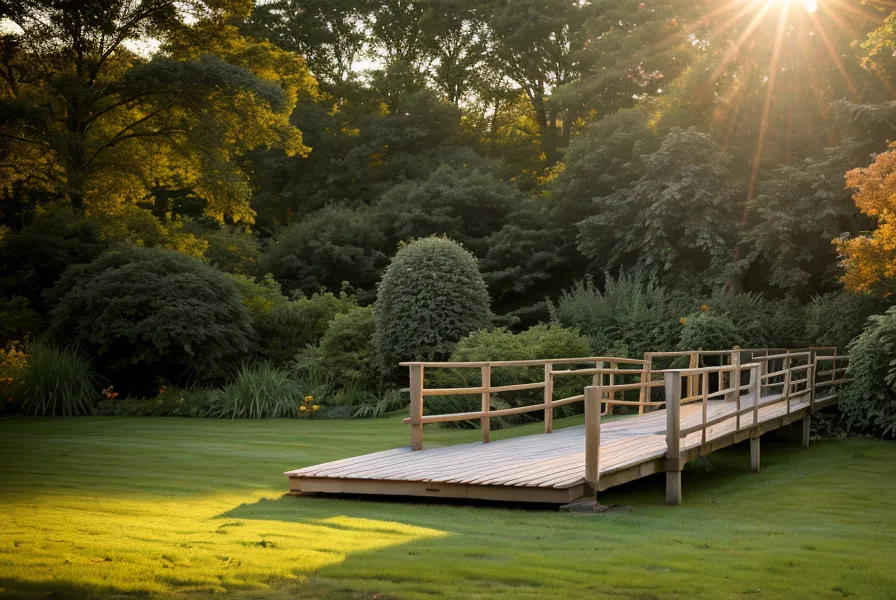
Somebody in the Facebook group asked if we'd pulled a permit for an eight-foot footbridge, and honestly, we hadn't even thought to check until after it was built. Most counties set a size or height threshold under which a small garden structure like this one doesn't need a permit at all, but that threshold is different everywhere. Check your own county's rules before you assume a little bridge over a drainage ditch is automatically exempt.
Getting Three Matching Arches Out of Straight Boards
Framing came next: three 2x6 stringers spaced 16 inches on center, the same joist spacing used on most residential decks, which keeps the boards from feeling bouncy underfoot. We checked square on every corner before driving a single fastener, mostly because we'd already learned what happens when we don't. A deck frame we eyeballed instead of squaring properly came out three inches off true across a twelve-foot span, and we weren't about to repeat that over a ditch. That part went smoothly. The arch cutting did not.
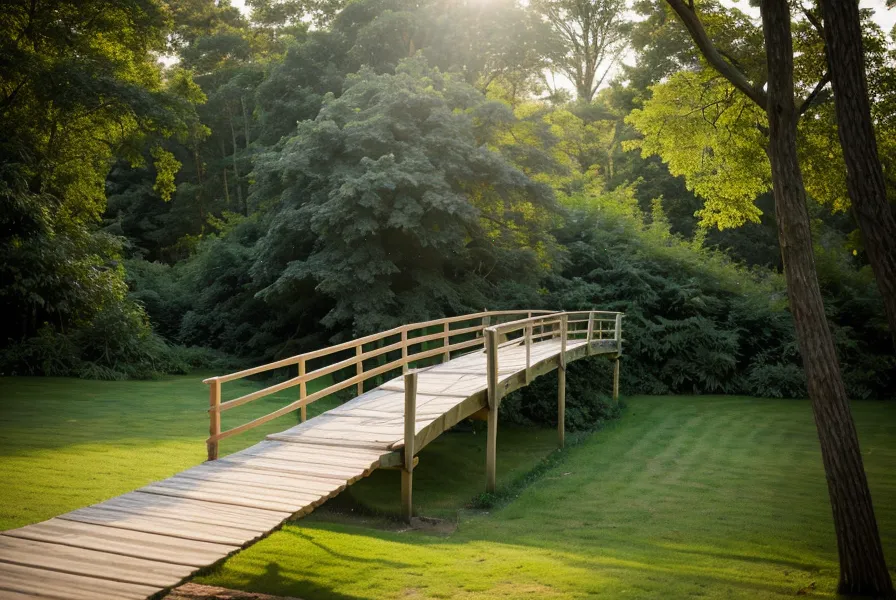
He took the lead with a length of flexible PVC pipe bent into a gentle curve as a cutting guide, then handed me the jigsaw for a stretch. I hit a dense knot in the pine, and for a second the blade just SCREAMED instead of cutting. Then he cut the power, and the whole yard went quiet except for our own ringing ears and sawdust still hanging in the air. That's the part nobody puts in the glossy project photos.
We clamped all three stringers together and sanded them as one unit so the curve matched exactly across all three. Mismatching the arch by even a little makes the decking boards rock instead of sitting flat. A cordless drill and the same jigsaw did nearly all of the work here; nothing fancy, just tools we already owned running longer than usual.
Cedar Decking, Gaps, and Curb Rails
Cedar went on top for the decking. It resists rot on its own and feels a lot better under bare feet than pressure-treated pine does. We spaced the boards about a quarter-inch apart with a couple of spare nails as spacers, since wood expands and contracts with humidity and a gap that tight needs to stay consistent or the whole deck reads as sloppy. Consistency is what separates a deck that looks intentional from one that looks guessed at. It's like the difference between a recipe you've cooked forty times and one you're improvising your way through. Eyeball the gap instead of using a spacer and you'll see the inconsistency by the first humid week.
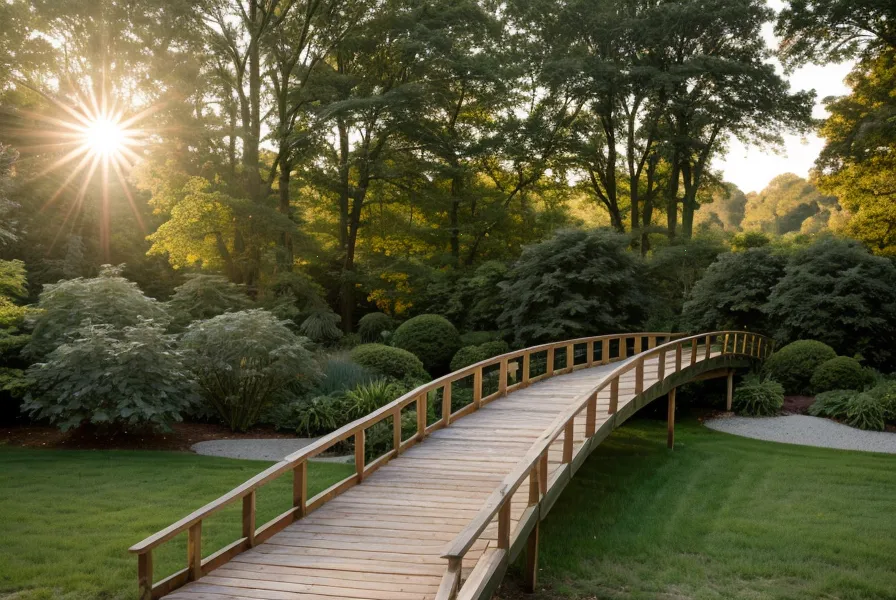
We skipped a full handrail and built low curb rails out of leftover 2x4s instead, enough to keep you from stepping off the edge with a crate of eggs from the coop in your hands, without the extra weekends a proper railing with balusters would have cost us. The same instinct that told us not to cheap out on hardware for the coop's predator-proofing kept us from grabbing whatever screws were closest for this part too.
Is a Backyard Bridge Actually Worth the Weekends?
Short answer: yes, if the alternative is jumping a ditch every time you need a tool from the workshop. It's nothing like the boardwalks you'd find on a trail out at Jordan Lake State Recreation Area. No engineered joints, no stamped plans, but it hasn't creaked once in two winters, which is more than we can say for some of our other backyard fixes.
Jonas, from the same Facebook group, drove over one Saturday just to see the arch cut in person. He's been posting step-by-step photos of his own build for months without ever finishing the write-up, and honestly, writing the thing up is somehow harder than building it. If you're standing at the edge of your own drainage ditch wondering whether it's worth the weekends: get the ground-contact lumber, don't skip the spacer on your decking, and shim instead of dig when your banks don't match. You can check out the best backyard builds we actually finished if you want to see what held up and what didn't.