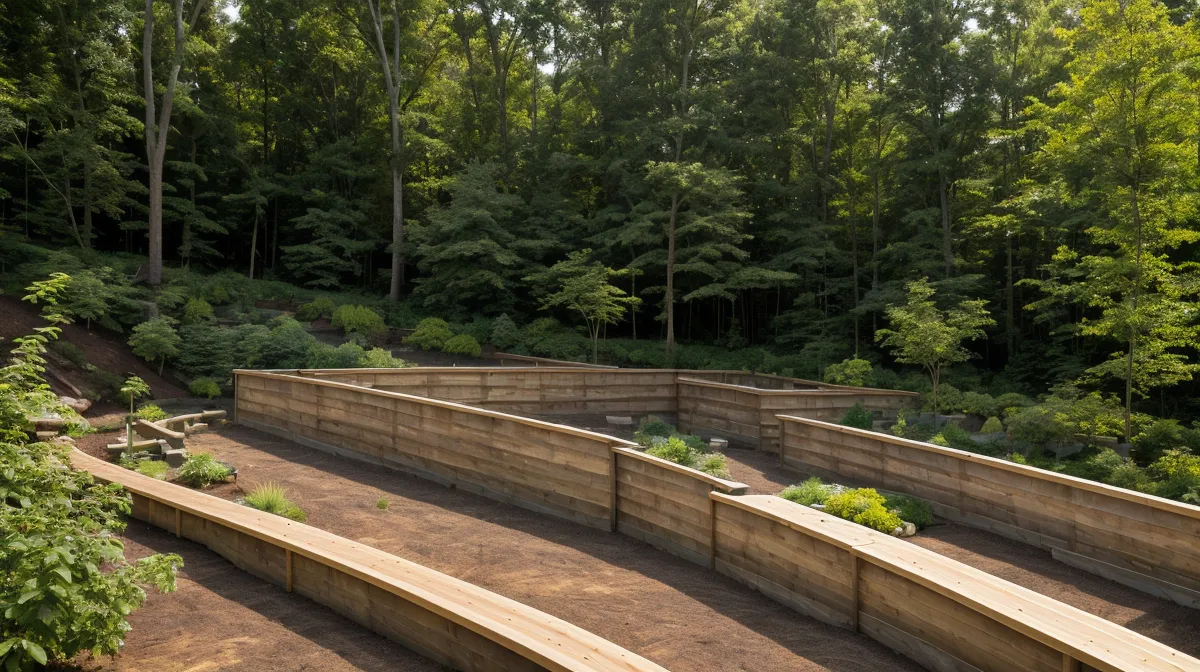
Red clay doesn't stay where you put it. Every hard rain nudged more of the slope behind our workshop toward the foundation, and a slope problem left alone eventually turns into a foundation problem. When a stone contractor quoted us more for a retaining wall than we paid for our first car, we started comparing our own options instead: landscape timbers, which are cheap and forgiving to work with, against concrete block, which costs more but doesn't budge. This backyard landscaping project ended up being less about hammering wood into a hillside and more about figuring out which material actually earns its keep on a slope like ours.
Landscape Timbers vs. Concrete Block for a Retaining Wall
Height is really the whole ballgame. Cross a certain wall height and you're not just adding more wood; you're adding engineering review and a permit conversation neither of us wanted to have on a Saturday, so we capped our plans at three feet before buying a single timber. Under that line, landscape timbers make sense: they're light enough for two people to carry, easy to cut with a circular saw, and inexpensive enough that redoing a bad course doesn't wreck your whole weekend. Over that line, or for a wall meant to outlast the house, concrete block starts to look like the smarter buy: heavier to move, pricier per course, but immune to the warping and rot that eventually catches up with wood. Picking between them is a lot like choosing between financing something cheap now or paying more up front for the thing you won't replace in five years: one gets you moving today, the other costs more today but stops costing you later. We kept coming back to that trade-off through the whole build. Timbers bought us speed and a low barrier to entry. Block would have bought us permanence.
What Landscape Timbers Actually Require
Buying the wood is where most people get it wrong before they've dug a single hole. We paid for timbers carrying a UC4A ground-contact rating instead of the lighter grade sold for flower borders, since that distinction matters more than whatever the price tag says. The cheap stuff turns to rot-mush in a few years once it's sitting in wet soil full time. Those timbers get sold as 3-by-4s or 4-by-6s, and it's worth knowing upfront that the number on the tag is nominal, not the actual size you'll hold in your hands, so don't plan your cuts around the label. We'd already learned the hard way what happens when you skip real planning. On an earlier project we tried to wing it off a stack of YouTube tutorials instead of buying an actual set of plans, and burned through a full sheet of plywood on cuts that didn't fit anything by the time we caught the mistake. This time, she pulled real plans before I picked up a saw.
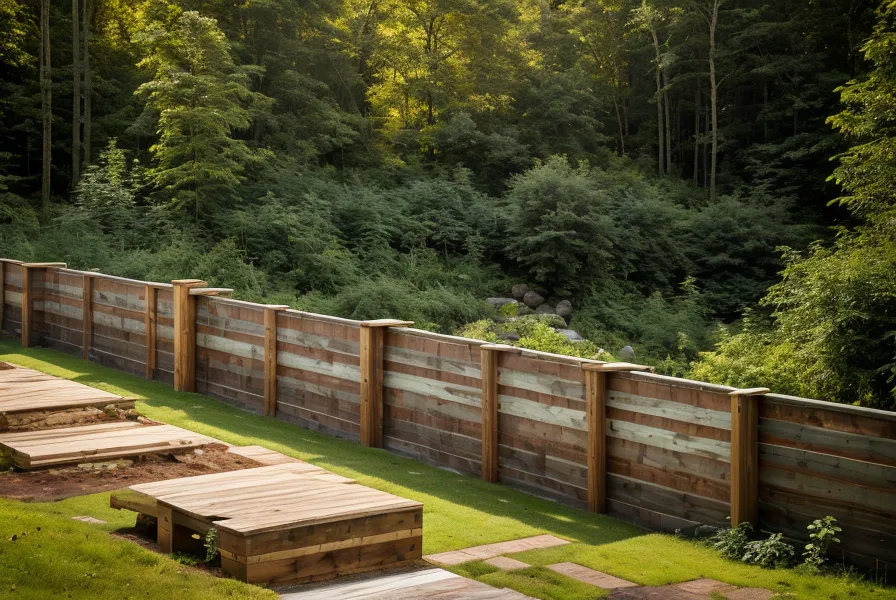
Digging the Trench Nobody Warns You About
Digging is where the romance of a backyard project dies fast. The first course of timbers has to sit partially buried (you can't set them on bare grass and hope gravity handles the rest), so we cut a trench about six inches deep and roughly twice as wide as the timber itself, then filled the bottom with a couple of inches of leveled gravel before any wood touched the ground. That gravel base isn't decoration. It's what keeps the whole first course from shifting when the ground freezes and thaws through a Piedmont winter. We're not going to pretend a trench like this is the same as a poured footing under a shed (different structures, different rules entirely), but getting that base right still decided how every course above it would sit. Level is non-negotiable here too, though we'll leave the full argument for why measuring matters to whoever already made it. On this build it was simply the rule we followed without exception.
Why Does a Retaining Wall Need a 'Deadman'?
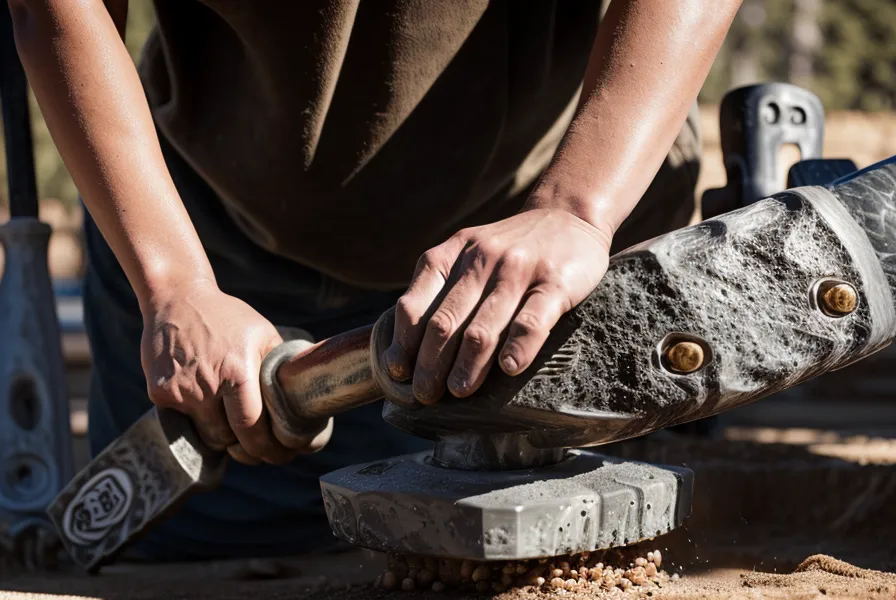
Once that base course was level, the wall went up fast. Timbers got staggered like brick, each one lapping the seam below it by at least two feet so there's no vertical line running straight up through the structure. We pinned the first two courses straight into the ground with 24-inch lengths of #4 rebar, drilling a pilot hole through each timber before driving the rebar home with a sledgehammer, the damp cedar-tone preservative and hot metal in the morning air, the smell of "we're committed now." A high-torque impact driver earned its keep here too, the same way it does on almost every backyard build we've tackled, driving six-inch timber screws through pressure-treated pine for the courses above the rebar. Dale, the neighbor next door, has a habit of appearing at the fence line the moment a circular saw fires up, and this project was no exception. He leaned over, watched for a minute, and wandered back to whatever he'd been doing before the noise pulled him over. Somewhere in the middle of all that hardware, our own gate started looking embarrassing by comparison, which is the whole reason we ended up figuring out how to fix a sagging gate on a wood privacy fence before the retaining wall was even finished.
About halfway up, once the wall hit roughly two feet, the weight of the hill behind it stopped being theoretical and got very REAL, very fast. That's when we cut T-shaped notches into the main wall and ran four-foot timbers straight back into the hillside, capped with a cross-piece called a deadman, buried perpendicular to the wall. It uses the weight of the earth itself to hold the wall upright instead of fighting that weight head-on, and it's the difference between a wall that leans by year three and one that doesn't.
Where Water Wins and Timbers Lose
Wood loses to water eventually. That's really the entire case against timbers on a wall meant to last decades. We lined the back of the trench with landscape fabric, then filled the gap between the dirt and the timbers with #57 stone, a standard crushed gravel size that lets water pass through instead of pooling against the wood. We also left small weep gaps between a few timbers on the bottom course so trapped water had somewhere to go besides pushing on the wall from behind. A few weeks after the last timber was pinned, a serious thunderstorm rolled through, and watching that water drain clean through the gravel and out the weep holes without moving a single grain of soil was one of the better payoffs of the whole build. It held. That was the whole point.
Drainage is also the moment where timbers show their age fastest. Even with a proper ground-contact rating, wood cycling through wet and dry often enough in Carolina humidity and sun will warp some within a decade or so. It's a known limitation, not a defect, but it's real, and it's the strongest argument in concrete block's favor for anyone building for the long haul.
Concrete Block: When It's Actually the Smarter Build
There's a version of this project that felt as simple as the morning we first carried coffee out onto our finished deck, boards still sharp with the smell of fresh pine, everything already done. The retaining wall never offered that kind of finished-and-simple feeling. It offered a string of decisions, one course at a time, each with a trade-off attached, and concrete block sat behind almost every one of them as the road not taken. Was block ever really on the table for this particular hill? Not seriously, but it's staying on the table for the next one. Block doesn't twist as it dries, doesn't rot, and doesn't come with a ten-to-fifteen-year expiration date the way timbers do, but it's heavier to move alone, costs more per course, and turns a weekend project into something closer to a specialized skill.
So here's the actual line. Choose landscape timbers when the wall stays under three feet, you want a project scaled to a couple of weekends, and you're fine treating the wall as something you'll likely rebuild down the road. Choose concrete block when the wall needs to last as long as the house does, when it's already tall enough to need real engineering anyway, or when paying more once beats paying twice. Once ours was backfilled and mulched, lighting was the last practical decision left, and since our yard goes properly dark at night, we ended up choosing the best solar path lights for a dark rural North Carolina backyard to line the new terrace. For the slope behind our workshop, timbers were the right call. For the next wall we build, we're not ruling out block.