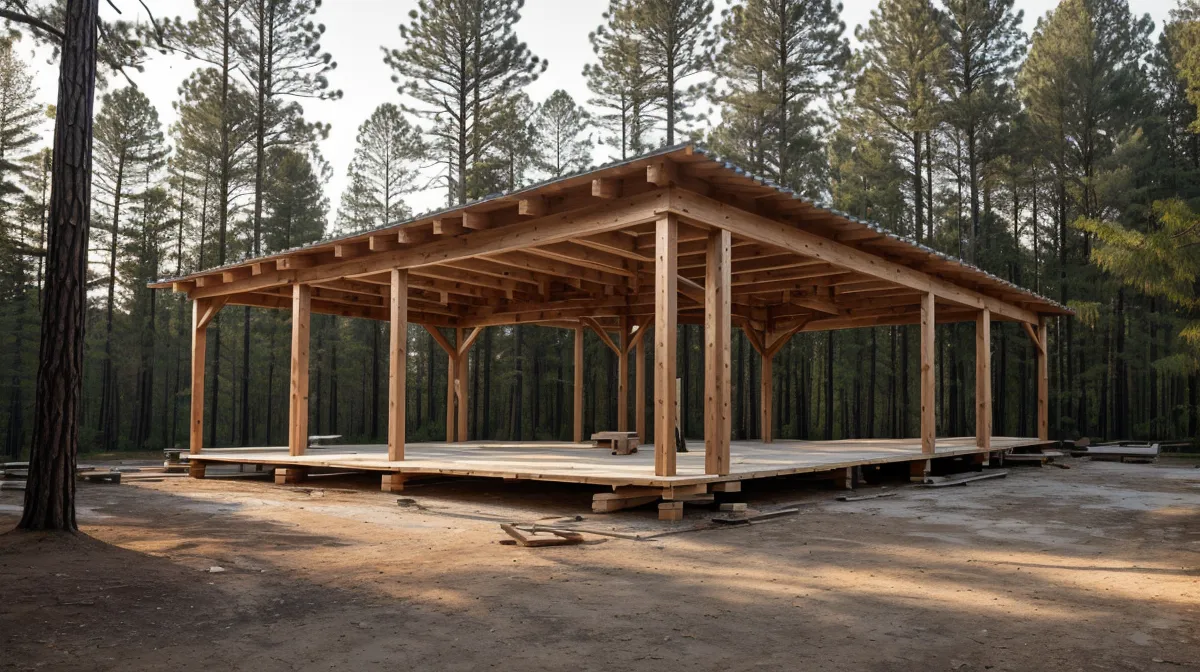
How many boards do you think two stubborn adults can rip in half before they finally agree to buy real plans instead of guessing? We found out the hard way while framing our backyard workshop this year, and the number is higher than either of us wants to admit. This has turned into the biggest DIY framing project we've taken on since we started doing outdoor construction projects on our half-acre in the North Carolina Piedmont, and it humbled us fast.
Welcome back if you've followed this half-acre saga before - we've built a backyard playhouse and a chicken coop and a raised deck, and none of that quite prepared us for framing an actual building at the back fence line. Before we get into it: yes, this post has affiliate links, and yes, we only mention plans and tools we've actually used ourselves. What we didn't expect going in was how much framing would test the same stubbornness that's gotten us through every other project out here.
Framing Is Just a Series of Ridiculously Simple Boxes
She keeps the spreadsheets, the diagrams, and the running list of things that could go wrong before we ever touch a saw. He's the one who actually keeps the power tools running without losing a finger. Neither of us felt confident the first Saturday we stood in front of a full pallet of lumber, because framing has a reputation -- it's the skeleton of the building, and if the skeleton is crooked, everything hung on it walks funny too.
What clicked for us about three hours into that first weekend is that framing isn't one enormous puzzle. It's a series of rectangles, repeated. Once you understand what a sill plate actually does -- it's the board that ties your wall to the foundation -- and you get comfortable spacing studs 16 inches apart, the intimidating part mostly disappears. We picked up the rectangle logic during our raised deck build, but a vertical wall behaves differently than a horizontal deck frame, and it took a minute to translate. Build one wall section well, though, and the next nine are just repetition -- the same way a big pot of soup is really just one good base, repeated in a bigger pot.
Why Is Every 'Level' Concrete Slab in North Carolina Secretly Lying?
We poured our foundation earlier this spring and would have sworn it was level -- it looked flawless, like the surface of a pond on a still morning. Then we set the first bottom plate down and discovered our slab had more waves in it than we'd like to admit. Between the heat and the way clay soil settles out here, "perfectly level" turns out to be more of a suggestion than a promise.
Fixing that took a full afternoon of shimming, re-checking, and quietly reconsidering our concrete choices. Skip that step at the framing stage and your roof rafters will never line up -- your doors will swing open on their own like the place is haunted. We won't get into footing depth or how deep you actually need to dig in our soil here - that's its own rabbit hole we've covered elsewhere, but getting the plate itself square, level, and plumb before the first stud goes up is non-negotiable. We've made our share of DIY failures out here, and most of them trace back to deciding something was "close enough." For framing, close enough is how a whole wall ends up leaning toward the fence line instead of standing straight. This is also about the point where a structure this size -- ours is a 12x16, big enough that we double-checked our county's permit rules before pouring a single footing -- stops being a weekend lark and turns into an actual project.
The Case for Buying Plans Instead of Guessing
I was sure I could piece this together from a stack of YouTube tutorials, the way we'd half-improvised the chicken coop. That confidence lasted exactly until I cut an entire sheet of plywood WRONG, because I was following a video meant for a completely different roof pitch -- one sheet gone, and a full Saturday morning with it. That's the kind of mistake that makes "just buy the actual plans" sound a lot less like giving up and a lot more like common sense.
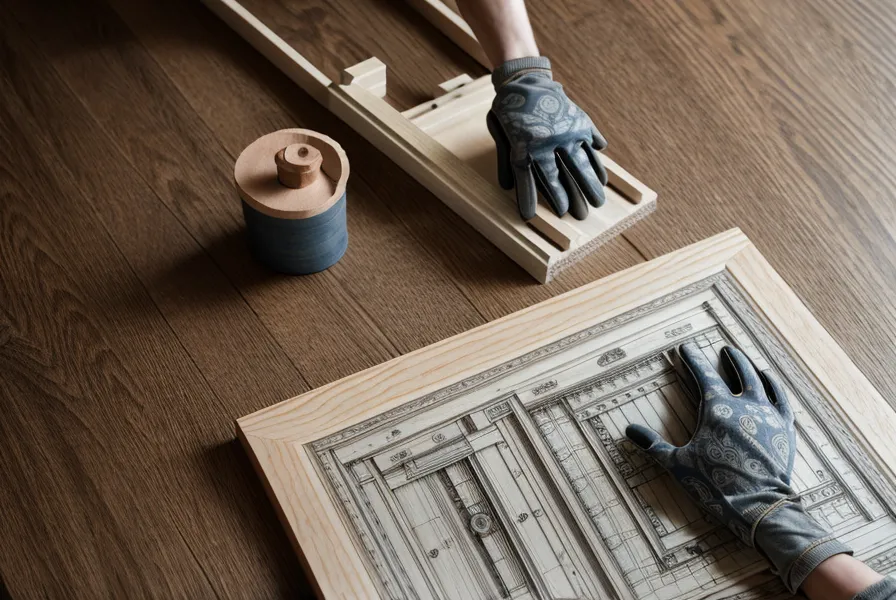
She stepped in with a proper set of diagrams after that, and it changed everything. We'd already been using TedsWoodworking for smaller builds -- we even knocked out a potting bench from their library while waiting on the concrete to cure -- and out of their well over 16,000 plans, we found a workshop layout close enough to our roofline that we barely had to adjust it. Having an actual cut list in hand is the difference between a productive Saturday and three annoyed trips back for one more board. We've also poked around My Shed Plans for smaller storage builds, since it leans harder into foundation types and permit questions if that's more what you're stuck on. Working from someone else's tested drawing instead of your own napkin math is a bigger topic than we can get into here, but the short version is: it's worth the twenty minutes it takes to find the right one.
Humidity Turns Outdoor Construction Into a Hardware Problem
Neither of us fully accounted for how much our climate would dictate the materials list. She reads every manual before we touch a new tool, and I'm the one who tries to run the pneumatic nailer without checking the pressure setting first. Humidity out here isn't just weather - it's basically a slow-motion demolition crew aimed at anything wooden.
Every piece of lumber touching the ground needed to be pressure-treated, and every fastener needed to survive real moisture, not just an occasional rain shower. We won't rehash the whole pressure-treated-versus-untreated debate here -- that's a bigger conversation for another day -- but we switched every exterior fastener to hot-dipped galvanization after watching raw steel rust orange during a single June thunderstorm. One Saturday we made a dedicated run out to Tractor Supply Co. in Siler City just for a box of the right nails, since our usual bin at home had gone completely empty mid-build. Our next-door neighbor Dale has some kind of internal alarm for that circular saw -- it barely spins up before he's leaning over the fence with an opinion, usually about whether we're using the right hardware for the job. We also set up one stable cutting station instead of dragging the miter saw through red clay every time we needed to trim a header, which turned out to save both the tools and our backs by the end of a long day.
Stop Building a Cathedral -- You're Building a Workshop
This lesson took me the longest to accept. I wanted every stud plumb to a fraction most tape measures can't even read, and I wanted the headers to look like something out of a magazine. About five weeks into framing, I glanced over at the raised beds we'd built the spring before -- the kale in there was still hanging on into November -- and figured if something that scrappy could hold up, this workshop probably would too. A gap in a corner post barely matters once siding and pegboard cover it. Perfection is a good way to never finish anything.
Ruben, a neighbor a few lots down, came by that same week asking how we'd spaced our posts. His own builds always start right on schedule and wrap up about two seasons after everyone's stopped asking, so we handed over our honest numbers and let him set his own pace.
Our workshop is still not finished. The rafters are up, the sheathing is going on, and it's finally shedding water instead of collecting it in the corners. We're doing all of this around day jobs, one weekend at a time, and knowing we've saved enough building it ourselves to start planning our greenhouse next makes the sore muscles worth it.
There's a specific kind of satisfaction in walking out to the yard with a drink in hand on a Friday evening and looking at something you built still standing straight. Ours isn't flawless -- there's a hammer strike dented into one of the top plates where a nail wandered, and one window opening is slightly oversized because I got nervous about the header load and cut it generous instead of exact. But it's ours, raised with the same stubbornness that's gotten us through every project on this half-acre, plus a far better set of plans than we started with.
If there's one thing worth carrying into your own build, it's this: buy the plans before you buy the lumber. Every other mistake on this list cost us a day or two to fix. Skipping the plans almost cost us the whole project.
Ready to Start Your Own Backyard Build?
You're probably sitting on a list of "maybe someday" backyard projects. Our advice is to just start the first box. You'll learn more from making a mistake and fixing it than from waiting until you feel ready, and you'll never feel fully ready anyway. Get yourself a real set of plans first -- we still reach for TedsWoodworking whenever we need accurate dimensions before the saw comes out -- and then go build that first wall section. Before long you'll have a workshop, a couple of new scars, and enough stories to tell over the fence for years. Now if you'll excuse us, we've got siding to hang and a nap to take before the humidity wins the rest of the afternoon.