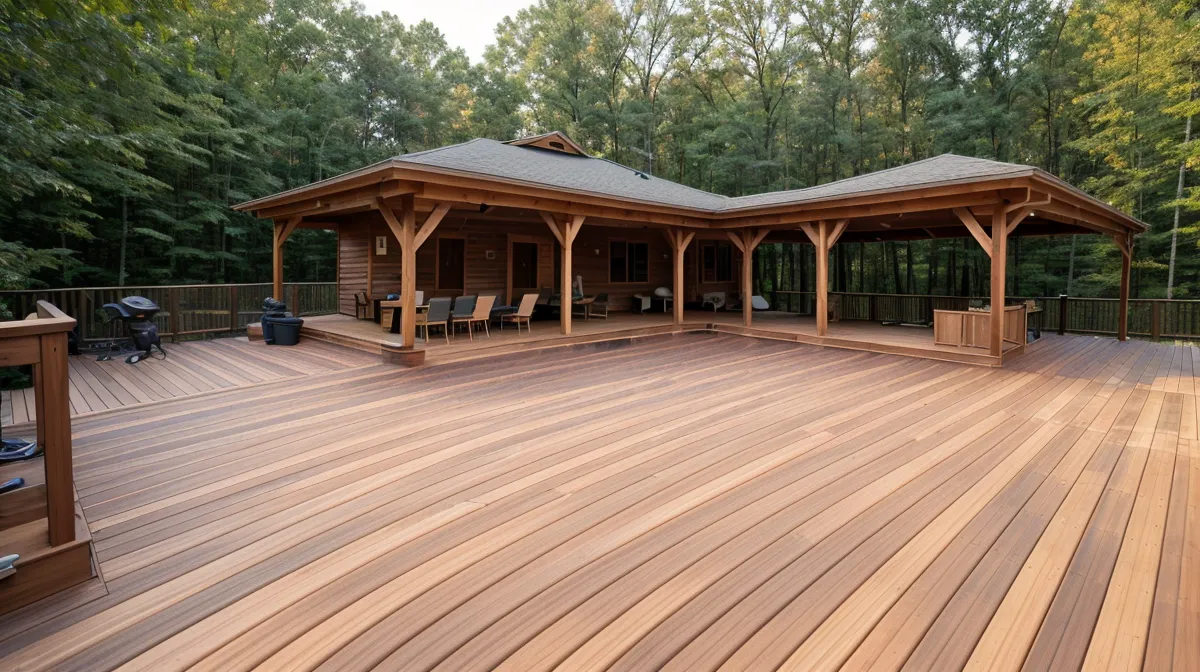
Why does a backyard deck railing that passes its safety inspection end up wobbling under your hand within a year? We didn't have a real answer until our own railing gave our neighbor down the fence line that exact little test — and what he found had nothing to do with the wood species we'd agonized over for our DIY deck build.
Here's the myth we bought into, and the one we hear from almost every homeowner planning a similar backyard project: pick the "safe" railing material — composite instead of wood, cable instead of balusters — and the safety problem takes care of itself. It doesn't. Picking a railing material without checking the posts underneath is like buying a nice tablecloth for a table that's missing a leg — looks fine in photos, falls apart under real use. A deck railing's ability to keep a person upright has almost nothing to do with what the top rail is made of and almost everything to do with what's holding the posts to the frame underneath it. Get that part wrong, and the prettiest home improvement upgrade on the block still won't hold a shoulder bump at a crowded barbecue.
The Myth: Picking a "Safer" Material Fixes Everything
Composite boards don't rot the way pine does. Cable systems don't need staining. Aluminum won't splinter a kid's palm. All true — and none of it is the reason a railing holds a person's weight. The number that actually matters is the guardrail height written into the International Residential Code, which in our county sits at 36 inches minimum. We aimed for exactly that: tall enough to feel secure leaning against it with a drink in hand, low enough that it didn't wall off the view past our own fence line.
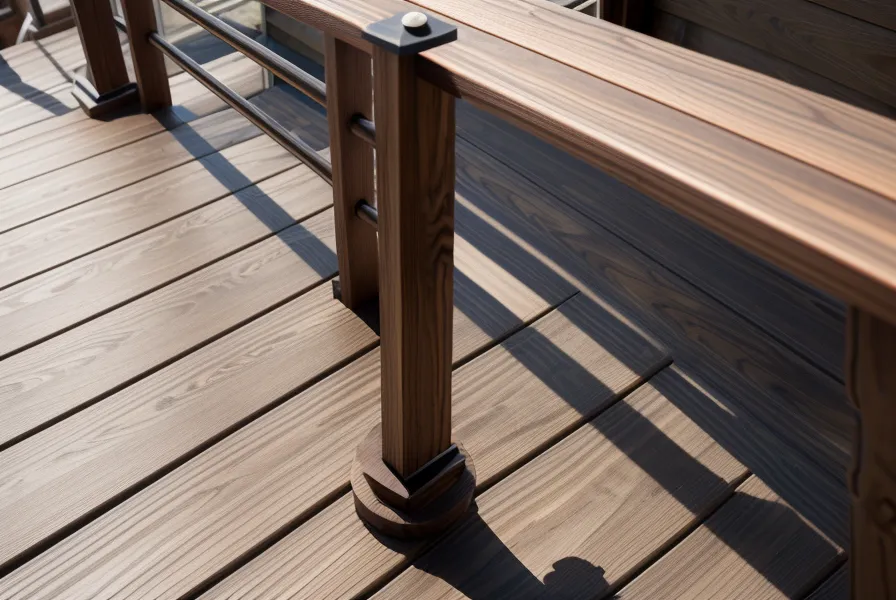
Then there's the rule nobody thinks about until a toddler tests it — no gap in the railing wide enough for a 4-inch sphere to pass through. Spacing thirty individual balusters evenly across an eight-foot span so none of those gaps sneaks past code sounds simple on paper. It is not simple with a tape measure and a level in ninety-degree heat. Posts themselves can't be spaced more than eight feet apart either, or the top rail sags in the middle like a hammock nobody asked for.
So What Actually Keeps a Railing From Failing?
Posts. Specifically, how the posts connect to the deck frame underneath the decking — not the railing material bolted on top of them. That's the part almost nobody photographs for a home improvement blog, and it's the part that matters MOST.
We learned this the expensive way before we'd even gotten to the railing stage. Our footings went in that spring without us checking frost depth for our stretch of the Piedmont, and by the following winter two of the posts had heaved just enough to throw the whole rail line out of plumb. Digging both back out, re-pouring, and resetting the posts ate an entire weekend we'd planned to spend hiking at Haw River State Park instead. Lesson filed: in NC clay, frost depth isn't a line on the plans you get to skip.
Cable Railing vs. Wood: Where the Real Risk Actually Hides
She wanted cable railing from day one: sleek, modern, doesn't block the breeze off the back field. My worry was physics. Cable railing needs heavy-duty end posts because every cable pulls inward on that wood with cumulative tension; anchor the posts wrong and they bow toward each other over a season or two. We spent longer than we'd like to admit arguing about whether our DIY skills were up to that kind of tension.
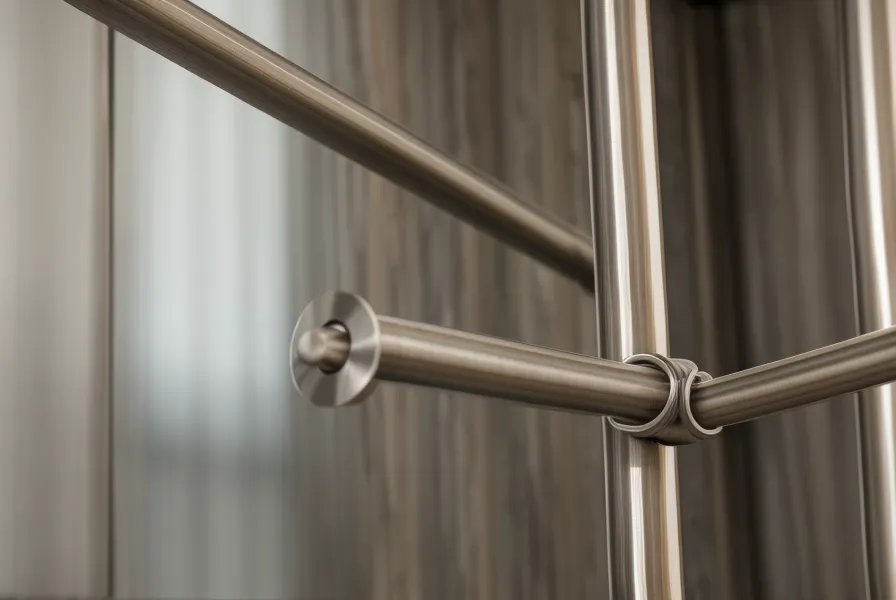
There's a genuinely satisfying moment when the tension finally sits right. Pluck a properly tensioned stainless cable and it rings back at you like a low guitar string, sharp and metallic, the sound of a connection that isn't going anywhere. Getting there took patience. Compare that to pressure-treated lumber, which costs less up front but needs weeks to season before it will hold stain properly — and in our humidity, that drying stretch felt endless. There's a distinct vinegar-sharp, resiny smell that comes off a stack of pressure-treated 4x4s baking in July sun — not pleasant exactly, but you learn to associate it with progress.
Meet the Neighbor Who Found Our Weak Spot
Our neighbor down the road — the guy who hunts deer every November and butchers the meat himself out in his garage — also spent decades as a builder before he retired. He walked over one afternoon, leaned his full weight into a corner post just to say hello, and watched it wiggle. "You want this to hold a 200-pound concentrated load?" he asked. "Screws won't do it. You need through-bolts."
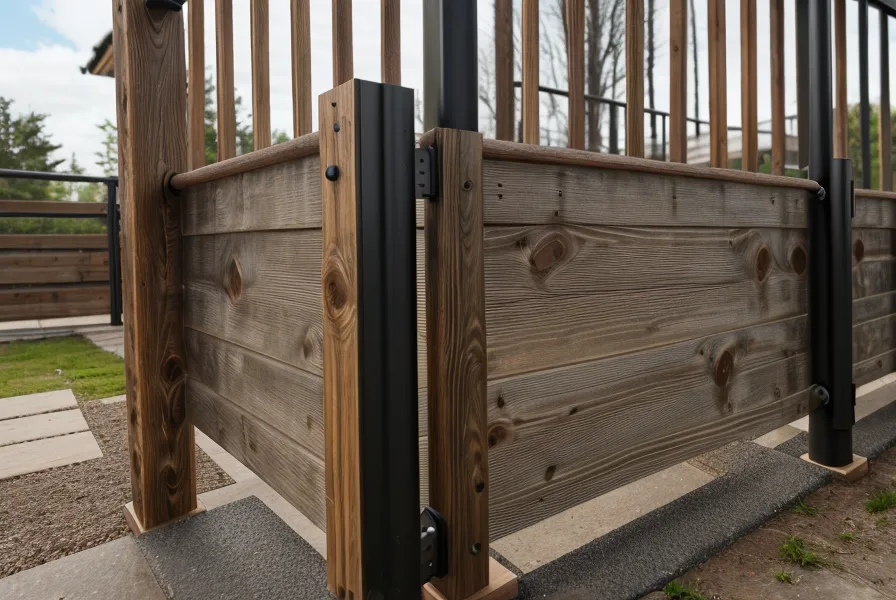
Turns out our post-to-joist connections were held in with lag screws alone — plenty strong for a lot of jobs, not strong enough for a railing people will lean their full body weight against. That sent us into a weekend of undoing what we'd already finished: pulling perimeter boards, drilling through the rim joists, and setting heavy-duty through-bolts with washers on both sides. Somewhere in there I snapped a drill bit clean off inside a post because I skipped the pilot hole, and sat in the dirt for a solid ten minutes questioning every decision that led to this deck existing. Then I went back to the truck for another bit and kept going, because that's apparently what DIY construction actually is.
Composite and Aluminum Aren't a Shortcut Around Rot
Here's the second half of the myth, and it's the sneaky one. Low-maintenance materials get pushed hard for good reason — you're not out there staining composite or aluminum every couple of summers. But wrapping a post in a pretty plastic sleeve doesn't make the wood underneath immune to anything. It just makes the rot invisible until the railing gives way.

The post inside that sleeve can be soft with rot in our damp NC air for years before the surface shows a single sign of it. We ended up leaving our posts exposed, or using caps that actually breathe, specifically so we can see the health of the wood holding everything up. It's the same logic we used when we were building a DIY smokehouse after our growing season finished — you want to be able to inspect the bones of a structure, not just trust that the skin looks fine.
What Should You Actually Check Before You Call a Railing Safe?
Check the connections first, not the finish. Confirm posts are through-bolted to the frame, not just screwed. Get the footings below frost depth for your region before anything else goes on top of them — we found that one out the hard way. Keep an eye on whether posts are plumb and the top rail stays level across its full run; a railing that's out of square announces itself eventually, usually at the worst moment. Working from actual plans instead of winging measurements as you go makes most of this easier to catch before it's buried under decking.
Wood moves with the seasons here too — swells in the humidity, shrinks back in a dry stretch — so we left a hair of extra room in our baluster spacing rather than cutting everything flush and hoping it stayed put. Worth knowing before you buy: a "4x4" post isn't actually four inches square once it's milled, which throws off your spacing math if you're planning gaps down to the exact prescribed maximum instead of leaving yourself a little slack.
The real test came the day the last baluster went up the ladder and slid into place against the top rail without needing a single shim to sit flush. That's the actual proof — not whether the railing looks good, but whether it was built square enough that the last piece just fits. Pick whatever material you want. Just build the part underneath it like someone's going to lean on it hard, because eventually, someone will.